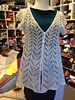
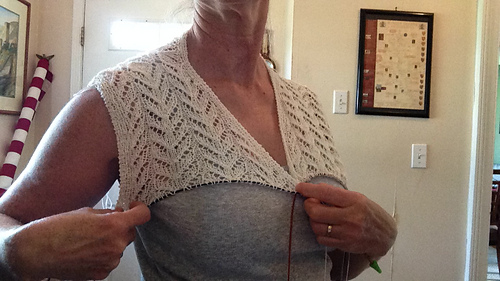
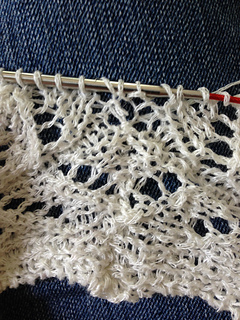
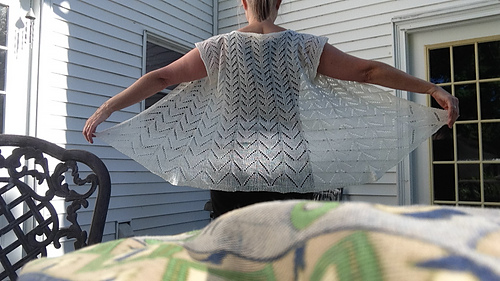
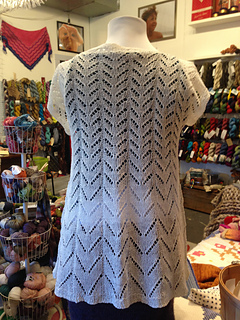
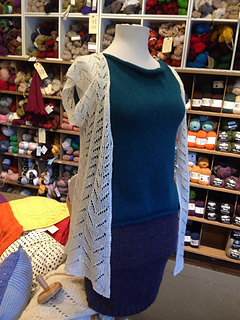
I was looking for a lacy vest pattern to dress up a simple T-shirt or sleeveless dress in summer. I like the construction of this cardigan and the flow and drape. I eliminated the sleeves and followed the chart for the Summer Hitofude for the body. Well, actually I (at first) did 6 sleeve stitches in ribbing just for the armholes, but no pattern repeats in the sleeves.
I did make some changes to the neckline as I think the original would not suit me.
Since I was asked how I knitted this up, I wrote it down here step by step.
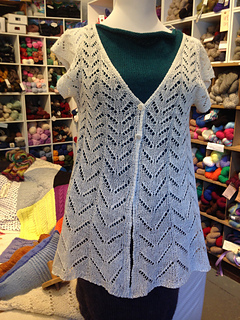
Knitting up the Hitofude the way I did, I never did get to a point when I knitted this in a circle, so I guess I took out one of the most prominent design elements…which in turn changes the hemline, too, from tapered to straight, but I do like how this came out!!! I did it my way :) and I am very happy with it. So, if you like it this way, too, feel free to make the same changes.
-
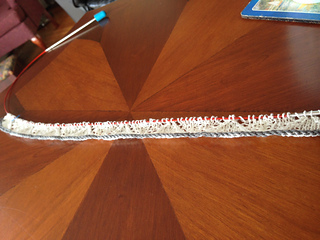
Provisional cast on 108 sts
-
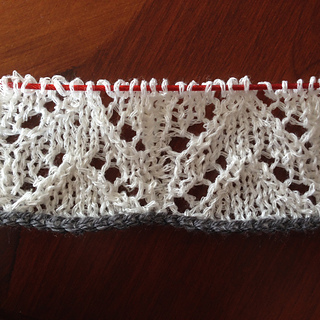
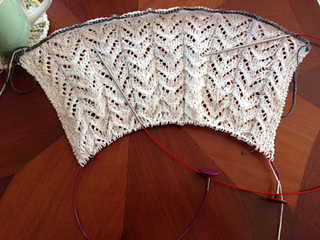
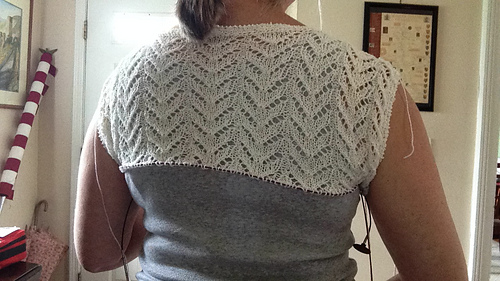
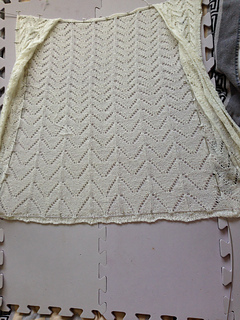
For the back 9 pattern repeats finishing after row 11 (RS) of last repeat. Cut the yarn leaving a tail of about 12 inches.
-
Pick up the live sts from provisional cast on: 30 (6+24) on circular needle, the middle 48 (neck) on a holder or scrap yarn or extra cable, then the final 30 (24+6) on the circular needle. From here on I am knitting the left and right front separately, so had to join one ball of yarn for each side.
-
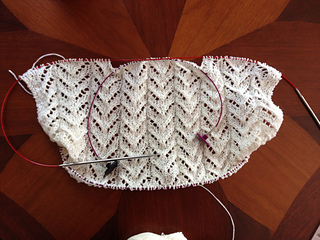
Starting with the RS facing join yarn on right edge of right front, Slip the first st purlwise then (p1, k1) twice then p1. Start with row # 1 of Chart A (you have three repeats) then use the provisional CO method to cast on 6 sts on the neckline. They will be worked (P1, K1) three times. Left front : Using the provisional CO method CO six stitches on the neckline of left front. Join a new ball of yarn and work these as (k1,p1) three times. Then work the following 24 stitches using row 1 of chart A. (P1,K1) three times over the last six sts.
-
Work nine repeats of Chart A over the right and left front and work the first and last six stitches as established. AT THE SAME TIME increase on the neckline as follows: M1 just before the neckline ribbing in rows 4 and 8 except in the last lace repeat only in row 4= 17sts increased on each side. Work the pattern over these stitches as you add them.
-
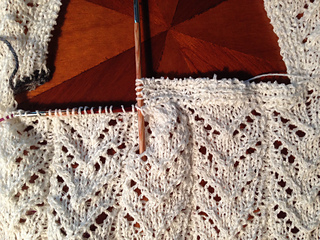
Carefully undo the provisional cast on over the six neckline stitches on the right front and starting with a RS row work them like this (thus binding off the back neck stitches at the same time !). Beginning with the right side of the neckline stitches work across these six stitches in pattern (It is best to use DPN’s for this). When you get to the last stitch purl this stitch together with the life stitch of the back neck. Turn work, slip first stitch purlwise wyf then work back in pattern as established. Continue in this manner until half of the stitches from the back neck are used up (you still have half of the stitches left, i.e. 24). Don’t bind off!
-
Repeat step 6 with the left front neckline stitches. Only here you start with a WS row and knit two stitches together (last of ribbing with a back neck stitch), then turn and slip the first stitch knitwise wyb.
-
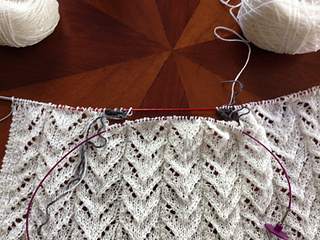
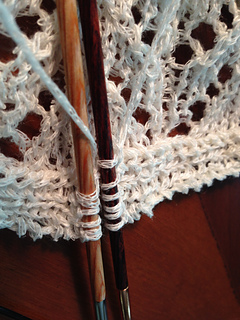
You are now left with two sets of six stitches facing each other in the middle of the back neck. Using the Kitchener Stitch method for ribbing graft these stitches together.
-
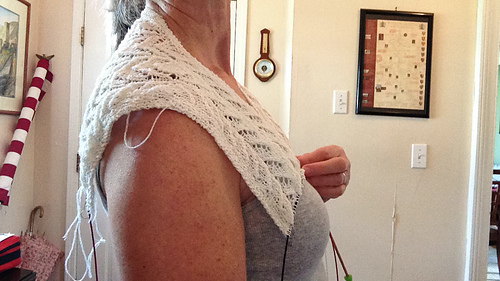
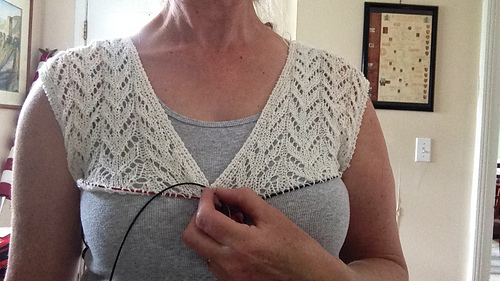
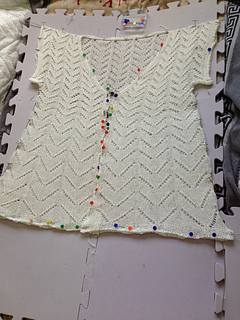
Try it on. Are the armholes big enough? If not you can add repeats before closing the armholes. How much of an overlap do you want in the front? You can add more stitches in the neckline or incorporate additional stitches into the sleeves for a tighter fit across the bust. There is lots of room for changes at this point. Bear in mind that this is not blocked yet.
-
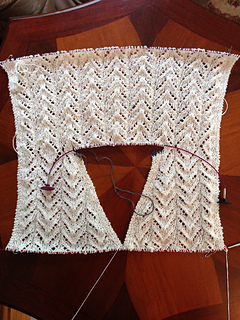
I decided to do one more lace repeat ending with a RS row 7 in the left and right fronts without adding stitches and adding my first button hole (I will make two). In row 4 of the lace chart (WS) on right front: sl1, K, P, YO, P2togtbl, K.
-
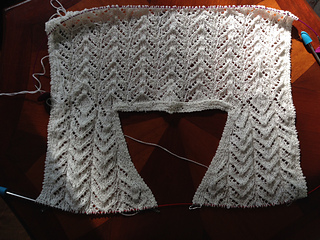
Time to join the fronts and back. My next row for both fronts and for the back is a row 8 (WS). Left front Starting on the left front and holding front and back stitches parallel I used the 3-needle bind off to bind off the six ribbing stitches and the following six stitches (I decided to make the “sleeves” a little longer). I am left with one last loop and knit this together with the next stitch of the front.
Then I knit across the left front.
Right front Then I knit across the right front to 12 sts to the end. I slide these 12 stitches on the right hand needle and turn my work.
Back Holding the needle parallel to the needle with the back stitches (and with outsides facing; make sure the garment is not twisted), I use the yarn previously cut after the last row worked on the back (about 12 inches). I use this yarn tail to do a 3-needle-bind-off of the next 12 stitches (again knit together the last loop with the next stitch of the back piece. Then I work across the back with the working yarn which was left hanging when I slid the 12 sts.
New beginning of row Cut the yarn, slide the left front stitches unto the needle and I am at the beginning of row one of chart A with right side facing and staring at the neck edge of the left front :) This sounds a bit more complicated than it actually is! At this point I had only used a little over one skein of yarn although I have been working with three balls at one time or the other. I weighted what I had left and I still have 98 gram plus one more skein which I have not wound yet. I will see if I even need it.
-
Now I am just working on the body of the summer Hitofude as per instructions. I am keeping the ribbing along the right and the left front throughout and added a second buttonhole about 1.5 to 2 inches after the first. Chart A 3x
Summer Hitofude 10-row-Chart 1x adding two stitches(in row 1) , 1x without adding additional stitches
Summer Hitofude 12-row-Chart 1x adding two stitches(in row 1) , 1x without adding additional stitches
Summer Hitofude 14-row-Chart 1x adding two stitches(in row 1) , 1x without adding additional stitches
Summer Hitofude 16-row-Chart 1x adding two stitches(in row 1) , 1x without adding additional stitches
Then 8 rows of ribbing as in the instructions and Jenny’s stretchy bind off.
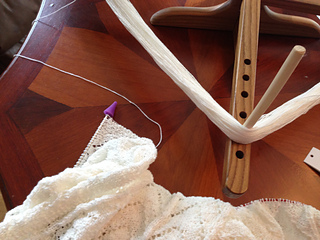
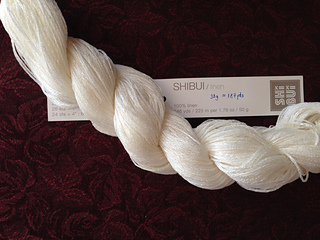
I only needed to use a little (about 1/4) of the fourth skein and knitted right off the skein using my swift. The remainder of the yarn is in my stash for sale: Shibui Linen


 Strickliese notebook
  handspun
 queue
queue favorites
 friends
 needles & hooks
 library