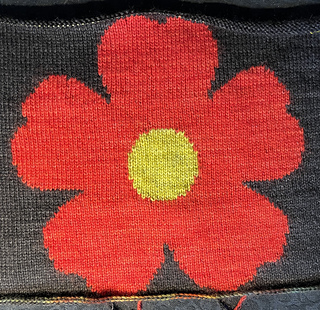
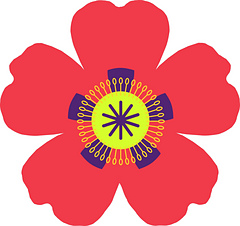
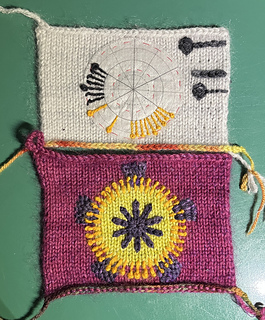
Second sample uses the chart with uneven petals. There are three charts to choose from.
Embroidery:
I had wanted to include ‘brush strokes’ on the petals, but they were too stiff if proportioned correctly. Needle felting them before embroidery would have been better, but I was reluctant to add one more element, particularly since it’s irreversible.
Pro tip: neaten up the intarsia edges and weave in the ends of the intarsia yarns before starting the embroidery.
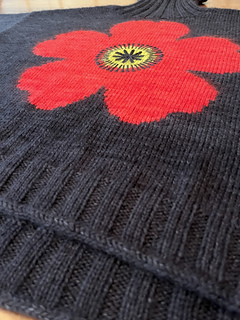
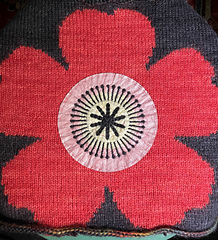
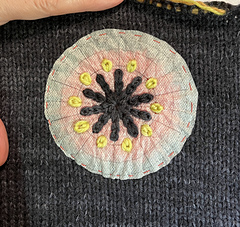
The motif I used for the stamens had 40 spokes. The star in the center has 10. Each point on the star is chain stitched from the center outward, then the chains are filled with running stitch back toward the center. I started by stitching every 2nd point, making a 5-point star, then filled in the other 5, not quite from the center point. The center star uses a single strand of the highland DK (no mohair).
The small stamens were stitched using stem stitch (see the RSN stitchbank for fabulous how-to). I split the dk yarn and used 2 plies. I stitched just the lines first, from the center outward, then from the outside toward the center, then the center outward, etc, working around the circle. I created the anthers (the tips of the stamens) in a second trip around the circle, with 2 strands of mohair, working continuously around the circle, without cutting the yarn. The anthers are not French knots, because I was worried they could disappear through the knit fabric. Instead they are 3-4 loops anchored on one side under the last stem stitch and the other through the fabric on the opposite side of the tiny circles. For proportionality, the small stamens could have been longer. Each is 1 inch/ 2.5 cm, but could have been 1 1/2 inches/ 3.75 cm
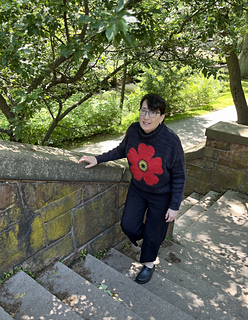
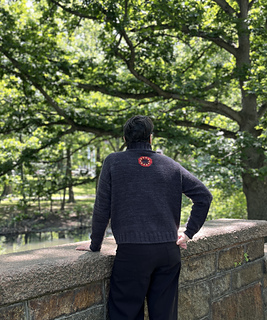
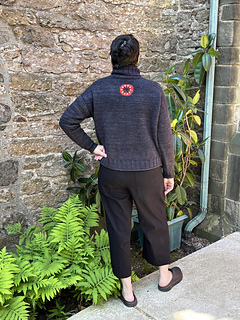
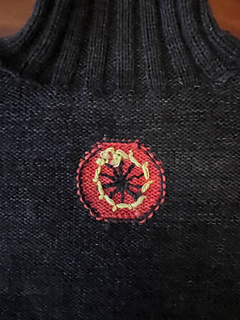
The star on the back is the same as on the front, just slightly smaller. Each small green dot is a daisy stitch (single chain stitch), with one running stitch filling its center, worked around the circle without cutting the yarn. I used dk held together with mohair for the dots.
I used a sharp needle, not a darning needle, the smallest one that would accommodate the dk yarn. Each time I threaded the needle with approximately 1 to 1.5 m of yarn, pulled through so that the length was manageable. Even when using 2 strands of mohair, I threaded the needle so that I could pull it out if necessary to undo a stitch (which happens). I guess it could be threaded with a single strand through the eye and doubled back, and I could have cut it when necessary.
When stitching, be careful not to pull too tightly, or it will pucker and distort the fabric. When working around the circle from stamen to stamen, the lengths on the back need to allow the fabric a little stretch. I recommend pulling the yarn all the way through to the back before reinserting the needle to come to the front. That way each part of the sewn stitch can be properly placed and tensioned. It becomes second nature with a little practice. Use your swatch for practice!
Sleeves: 87 sts picked up, decr every 6 rows to 48, start ribbing on next r. 16 r ribbing before I-cord b-o
Dimensions:
Chest across 24 1/4 inches/ 61.5 cm
High pt shoulder to front hem edge 22 1/4 in/ 56.5 cm
High pt shoulder to ctr back hem edge 24 1/4 in/ 61.5 cm
Upper arm width 8 1/4 in/ 21 cm
Neck opening width 8 1/4 in/ 21 cm
Turtleneck length 7 in/ 17.5 cm
Cuff and hem height 2 1/4 in/ 5.5 cm
Sleeve length 19 1/4 in/ 48.5 cm
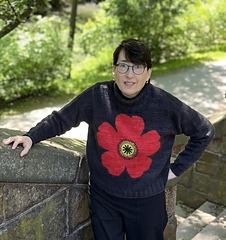
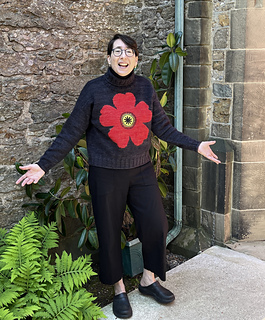
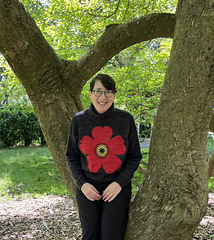
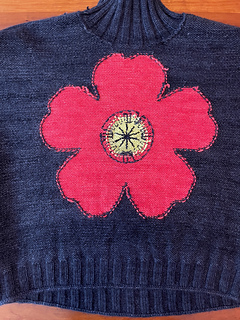
Flower height 12 3/4 in/ 32.5 cm
Flower width 13 1/2 in/ 34 cm
Note: while I had only 1-2 yds of black dk left from 5 skeins, I used 5-10 yds to embroider swatches, and I’m tall, so the sleeves are extra long.
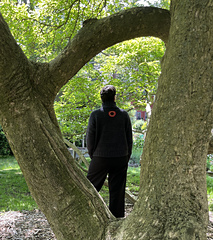
THANK YOU to Molly for the modeled photography!


 brooklineknitter notebook
  handspun
 queue
queue favorites
 friends
 needles & hooks
 library