

 Toma Nakvose's Ravelry Store

Christmas time countdown with the Roman Clock
Time to knit up some Christmas magic!
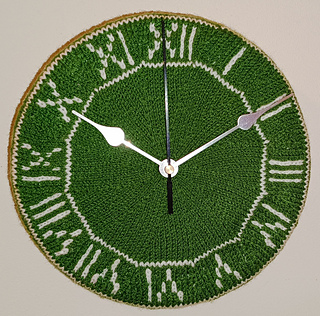
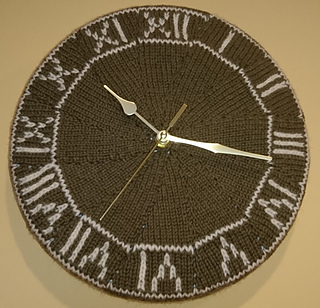
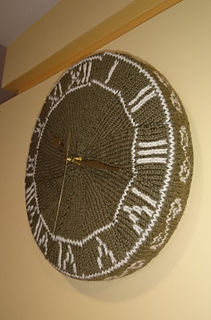
Create a one-of-a-kind, handmade clock that brings together the warmth of knitting with the functionality of home decor! This pattern is worked in the round, starting from the center and expanding outward to form 12 distinct segments representing each hour of the clock. A fun mix of colorwork and stitch increases gives this project its unique, decorative look. Whether you’re making it for your home or as a thoughtful gift, this project will add a personal touch to any space.
The pattern is suitable for intermediate knitters comfortable with working in the round and color changes. It includes step-by-step instructions for knitting, assembling the clock face, and attaching the clock movement, making it easy to follow along.
Sizes
The final size of your clock depends on the yarn you choose. Given pattern works for a clock face with a diameter of approximately 7-8 inches (18-20 cm), though it can be adjusted by changing yarn thickness.
Gauge
Stockinette stitch in the round: 33 stitches x 44 rows = 4 inches (10 cm) using US size 0 (2 mm) needles with sport-weight yarn.
Materials
Yarn: Sport weight yarn in two contrasting colors
Main color (MC): Approximately 120 yards (110 m)
Contrasting color (CC): Approximately 27 yards (25 m)
Suggested fibers: Acrylic or cotton
Knitting needles: Set of 7 double-pointed needles (2 regular sets) or a circular needle in US size 0 (2 mm)
Crochet hook: For creating the initial chain ring and finishing touches (size 2 mm or similar)
Clock movement mechanism with hands: Ensure the shaft is at least 3 mm longer than the thickness of the base
Additional Materials for the Base & Assembly
For the base:
Plywood (1/8 or 1/4 inch) or thick cardboard
Utility knife (for cutting cardboard) or a fret saw (for plywood)
Drafting compass to mark the circle on the base
Sanding paper for smoothing plywood edges (if needed)
Glue for assembling multiple cardboard layers (if needed)
