

 Vern Tonkin's Ravelry Store
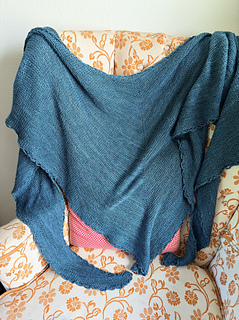
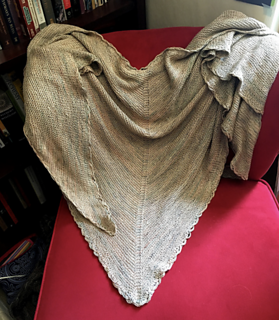
Fidget Spinner Shawl
I call this the Fidget Spinner Shawl because it is the kind of knitting you just occupy yourself with when you don’t want to think. It’s simply something for your hands to do.
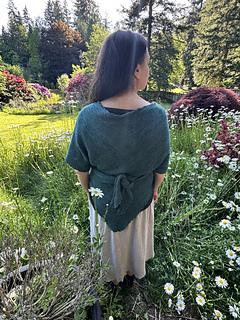
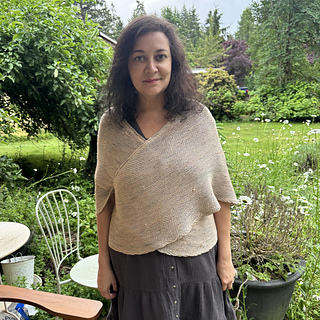
This is a heart shaped shawl, a classic shawl shape and part of knitting common knowledge that goes back centuries. The heart shape forms a perfect curve for wrapping across the body and tying in back, making it the most practical shape for a working person’s shawl. It doubles up in front to keep the core warm, while the under arms have full ventilation and the shawl edge falls naturally at your elbow, staying out of the way while keeping you warm. Tie it on and do anything, no fussing with shawl pins and no readjusting.
For around Fingering to sport weight I usually plan for 2000 yards, and I like to overplan.
Note, use any yarn within reason. A super chunky would be hard to tie in the back! It’s great with lace up to DK. Probably worsted too, I’ve not done it.
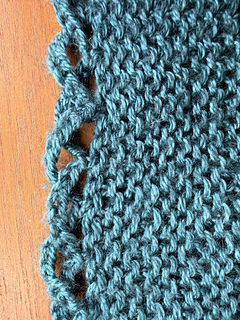
Also note: If you choose your increases to be YO or M1L M1R, cast on 5 stitches and do your increases on either side of a center stitch. The main idea is increase two in the middle every other row, however you wish to accomplish that.
The shawl starts with the increases before and after the center marker to keep the look at the top even with however the increases show up in your work. You might do a yarn over, and have a double row of holes going up your back and around the edge. Or do yarn overs on the edge only. I usually keep it simple and do a Kfb or M1R M1L, but any increase you want will get the job done.
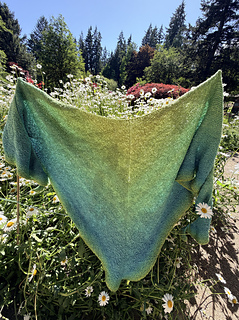
The increases on the ends and in the middle are what make the shawl into a heart. Usually a heart shape pattern simply calls for increase two stitches at the start, middle, and end every other row. You can do that if you like. I do it this way so I don’t have to worry about what row I am on when I start a new one. It’s only in the middle when that becomes important.
I solve that problem by hanging the free end of the yarn from the cast on just a little to the left side of the middle of the “right side” of the project (there is not true right side in the end). That way If i see it is to the left, I know this is the row I increase one on either side of the center marker.
That’s it. Set it up once, and you’ll have a delightfully mindless occupation for your hands, and something you’ll wear like a favorite sweater in the end!