

 Blame the Knots Ravelry Store
 Pattern

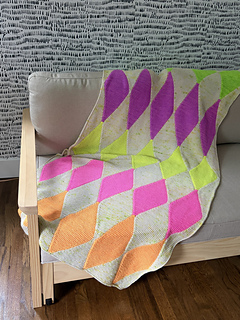
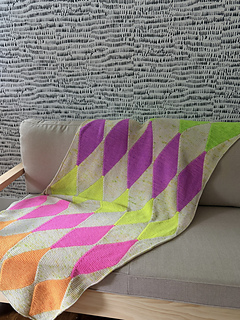
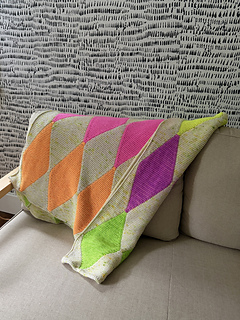
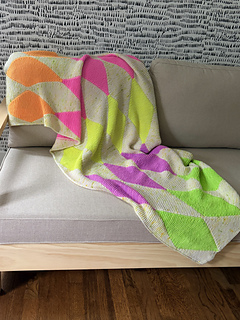
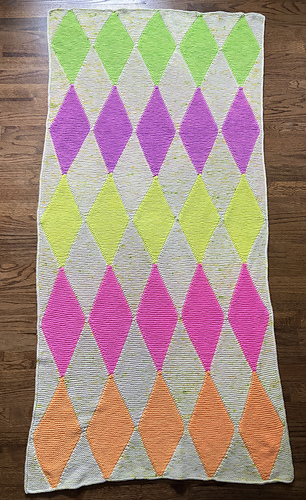


Harlequilt

Whether you have ordered a countdown box this year, are looking to stash bust with mini skeins or scraps, or simply want to make the blanket of your dreams, the Harlequilt can help you out! You only need to know how to knit, increase, and decrease for this pattern. By using diamonds and partial diamonds, you can create a blanket of almost any size!
Materials
- Fingering or DK weight yarn
- US 4 / 3.5 mm needles (or needle size required to meet preferred gauge) for Fingering weight OR
- US 8 / 5.0 mm needles (or needle size required to meet preferred gauge) for DK weight
- Several removable stitch markers
- Darning needle
Gauge
My diamonds measure about 7” / 17.5 cm wide by 14” / 35 cm tall for the Fingering weight version and 6” / 15 cm wide by 13” / 32.5 cm tall for the DK version. This translates to a gauge of:
Fingering: 25 sts and 45 rows = 4” / 10 cm
DK: 21 sts and 34 rows = 4” / 10 cm
However, making a fabric you enjoy is more important than hitting a specific gauge for this blanket! I suggest choosing whatever needle size and gauge you prefer and not worrying too much about the precise gauge.
Sizing
This pattern icludes instructions for a blanket that is 5 diamonds wide and five diamonds tall. If the above gauge is met, the final blanket will be approximately:
Fingering: 35” / 87.5 cm wide and 70” / 175 cm tall
DK: 30” / 75 cm wide and 65” / 162.5 cm tall
But, again, knit to the gauge and size you prefer! The pattern can be easily modified to make any size blanket.
Yardage
This pattern is designed to use 20g mini skeins, therefore each full diamond will use slightly less than 20g, half diamonds will use slightly less than 10g, and quarter diamonds will use slightly less than 5g.
If you want to make the absolute most of your yarn, weigh your mini skein before beginning your first diamond, work increases until you have a little more than half of your yarn left, and begin the decreases. You’ll have barely any scraps left over! (Just keep in mind that your stitch counts may no longer match the pattern.)
Construction
This blanket is constructed beginning with the top left corner and continued by creating diagonal strips that increase in size until the maximum height and width are reached. Strips then begin to decrease in size and an i-cord edge is applied at the end.
Sharing
I would love to see your completed blanket! Make sure to tag @blametheknots on Instagram and use #harlequilt!
Pattern Support
If you find an error or have a question, please email mc@blametheknots.com.
Pattern Use Disclaimer
You are welcome to sell finished items made from this pattern—handmade by you in small quantities. However, this pattern itself is for personal use only. Please do not share, sell, or distribute the pattern in any form. Thank you for respecting my work!
Low Vision Accessibility Details
- All text is black on a white background, using at least 24pt sans serif font.
- Italics are not used.
- All pages are formatted to be left-justified with 1” margins on all sides.
- Instructions are provided in written form within the Low Vision PDF.
- All images include descriptive alt text.
For Screen Reader Users
The Low Vision PDF has not been tested to work with screen reading software. Images include alt text. While abbreviations are defined, they may be pronounced oddly by some screen readers. If you use screen reading technology, we would welcome your feedback on how we can improve the formatting of our patterns for better accessibility.


 Ravelry download


 Cancel
30 projects
stashed 21 times
 stashed
21 projects
stashed 9 times