

 Yarn Crafts & Coffee
 Pattern


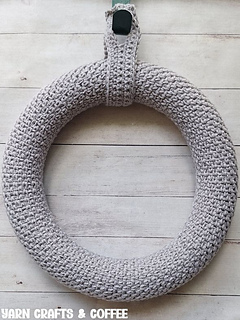
Landon Wreath
 also available for free:
info in notes
also available for free:
info in notes

A free version is also available.
buy it now or visit pattern website

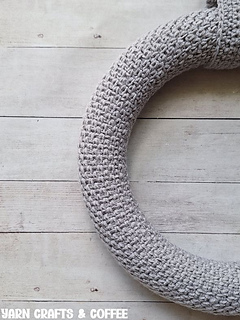
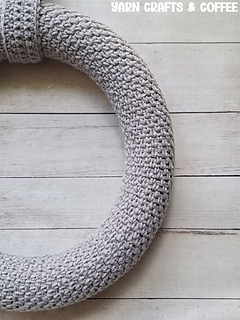
Learn how to crochet a foam wreath form cover using the moss stitch crochet pattern, which is comprised of simple single crochet stitches and chains to transform it into a wreath that looks beautiful with or without embellishments and can be used all year long.
Materials:
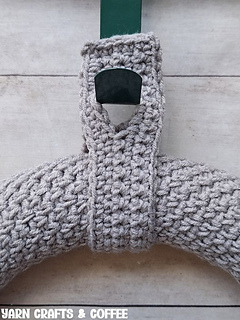
- Worsted Weight #4 Yarn - 222 Yards (90 grams) for the Wreath Form Cover and 18 Yards (7 grams) for the Hanger
- R1 Only: 4.5mm Crochet Hook
- Remainder: H8/5mm Crochet Hook
- Tapestry Needle & Scissors
- Tape Measure (gauge is essential)
- Optional, Stitch Markers
- 12” Foam Wreath Base
Material Notes:
My favorite yarns for crocheting a wreath are going to be 100% acrylic yarns. Usually, I like to go with Premier Yarns Basix Worsted, Lion Brand Pound of Love and Red Heart Super Saver as these yarns hold up really well to wear and tear, and while they will fade over time, I feel that these yarns hold their color the best over other yarns I’ve tried, as well as the shaping of embellishments. If the wreath will be inside only, you could go with cotton blends and embellishments, but for outdoor wreaths, cottons fade quickly and begin to fall apart.
With the creation of this new pattern, I experimented with yarns and created 3 versions: a cream colored one worked in Lion Brand Color Theory in the Satellite colorway as shown in the main photo, as well as a brown one worked in Berroco Vintage and a red one worked in Cascade Pacific Yarn that I haven’t had time to finish seaming up yet.
The moss stitch pattern results in a tighter fabric than say regular single crochet and this is why I have one size hook listed for Row 1 and a different hook size listed for the rest of the wreath form cover. If you don’t have a 4.5mm hook, you can also use a 4mm or 4.25mm in it’s place.
Stitch Markers are helpful to line up the rows of the wreath form cover and hold them together while you sew the cover on.
I typically work my fabric much shorter than needed so I can stretch it to fit perfectly, but with the chain spaces of the moss stitch, I worked additional length so the fabric wouldn’t need to stretch at all so the wreath form would not be visible through the gaps. I did pick a white foam wreath form to blend best with my cream color, and would still try to match the form to the color meaning white for lighter shades and green for darker shades, just so I don’t have to worry about it.
Foam wreath bases can be found in a variety of stores and online, but if you don’t have one, you could use a straw wreath or a pool noodle with the two ends attached together with a strong tape. These tend to be thicker so you may need to add stitches to the beginning chain to get a wider fabric. While I have not tested wire wreath forms, I think they would work about the same, but may be thinner around and require less stitches.
One way to make your wreath base something that you can continue to use throughout the year is by securing the embellishments with sewing pins so they are not permanent. The sewing pins stick down into the styrofoam to keep everything in place for as long as you need, and then when you are ready to change the embellishments out, simply pull them out and redecorate.
Otherwise, you can whipstitch or glue embellishments onto the moss stitch crochet wreath. Hot glue works well for several years, but it can look a little messy, especially if it’s hot where you are, and the embellishments start to loosen over time. I prefer sewing on the embellishments, or using Titebond Quick and Thick Multi-Surface to glue them in place.
Time Spent:
This wreath came together in about 3 hours.
Measurements:
This cover will fit a 12″ foam wreath form.
Abbreviation (US Term):
- SC - Single Crochet


 Ravelry download


 Cancel
also available for free:
info in notes
Cancel
also available for free:
info in notes

2031 projects
stashed 2843 times
 stashed