

 Kat CrochetPattern's Ravelry Store
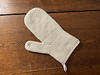
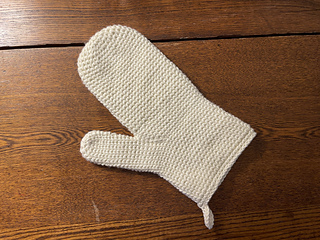


Oven Mit
This pattern is worked in 2 parts:
Part 1: Crochet the part of the oven mit that covers your 4 fingers, and half of your palm
Part 2: Crochet the part of the oven mit that covers your thumb, connects to Part 1, and then covers the rest of the palm and wrist
(Optional: Crochet a border around the wrist and hanging loop)
You will need:
4 weight (worsted) 100% cotton yarn (soft yarn will work, but rougher texture is better)
4mm crochet hook (Size G)
Scissors
Tapestry needle
Notes:
You will need to use a Waistcoat Stitch (WCS) for this pattern; to learn how to do the stitch (and increase/decrease), check out this video: https://www.youtube.com/watch?v=Aw2trvH82h8
This pattern is worked in the round
The first chain 1 of every round counts as 1 stitch
Example: Ch 1, 4 wcs (5)
Tips for success:
Leave a minimum of 8 inches of yarn to weave in ends securely
You will also need the extra length so sew closed a small hole that will form after connecting Part 2 to Part 1
Wash and dry your finished oven mit a minimum of 3 times before use to ensure the oven mit shrinks to final size, and becomes dense enough to protect from heat
For more tips, check out my video, here: 5 tips for crocheting an oven mit | free pattern in description
https://youtu.be/IugpGCUDc2M


