

 Biscotte Yarns
 Pattern


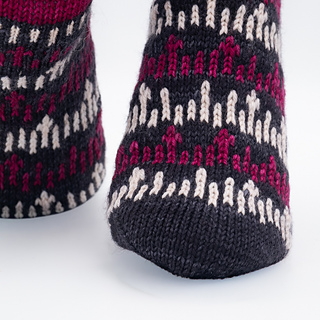
Salem Gloaming


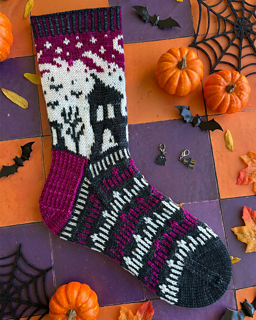
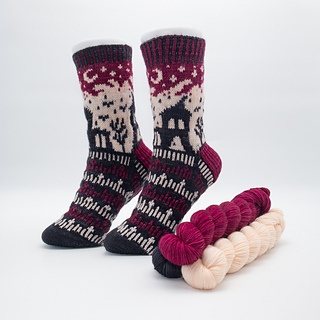
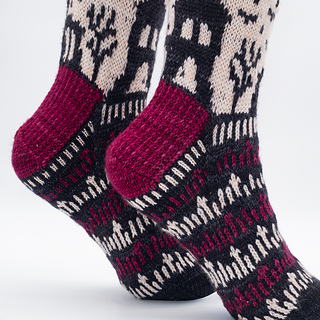
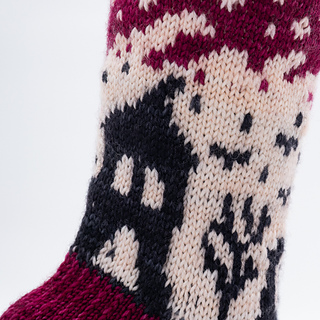
The name “Salem Gloaming” evokes the dark history surrounding this iconic New England town. Rendered in dramatic shades of black, magenta, and salmon pink, the colorwork pattern features old, creaking houses shrouded in shadow beneath a stormy sky, with rows of gravestones below.
An ideal pattern for knitters looking to add a touch of mystery to their projects!
.
MATERIAL NEEDED
BISCOTTE YARNS - BIS-SOCK 85% merino wool sw, 15% nylon; 400 m per 100 g
A) 50g shown in Charcoal
B) 50g Shown in Betterave
C) 50g shown in Porcelaine
DPN or circular needles (using magic loop) of 2.5 mm (US 1.5) - or size required to obtain the gauge.
Tapestry needle
SIZES - ADULT
Adult one size – the foot length is adjustable.
GAUGE
32 stitches = 10 cm (4’’) in stockinette stitch with 2.5 mm needles
NOTE
This pattern can be worked using a set of 5 double-pointed needles (DPNs) or circular needles. For double-pointed needles, divide half the stitches between needles 1 and 2 and the other half between needles 3 and 4.
Since the pattern involves several consecutive stitches in the same color and requires the contrasting yarn to be carried behind the work, I designed it using the Ladderback Jacquard technique. This method of knitting jacquard produces a stretchier fabric than the traditional method of tucking the unused color float behind the work. That’s why I suggest using a single needle size. However, if you choose to knit the pattern using the traditional method, I suggest using 2.75 needles (or 0.25 mm larger than the size required to achieve the gauge) for knitting the jacquard.
To make your work easier, I’m providing the charts in two versions: a traditional version and one with lines indicating where to create your “ladder stitches.” You’ll find a tutorial titled “The Three Steps of the Ladder Stitch” at the end of the pattern, and I’ve also prepared a video tutorial to help you fully understand this fabulous technique.
The placement of the “ladder stitches” is provided as a suggestion; feel free to add, remove, or move them as you prefer. Happy knitting!
La version française du patron est également disponible sur LesLainesBiscotte.com


 Ravelry download


 Cancel
12396 projects
stashed 12873 times
 stashed
538 projects
stashed 570 times