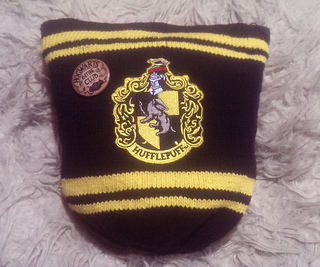
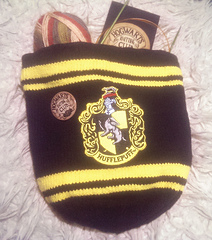
I’m very excited about this project. Hufflepuff pride forever! And what better way to show it than with a knitted WIP bag for when I’m out knitting in public and freaking out the muggles? I also really like the idea of a knitted bag which contains my knitting. Its In-knit-ion!
I have modified this pattern somewhat but it’s a great starting point for understanding the structure of a basic barrel/bucket bag.
-
Firstly, I cast on 120 stitches instead of 90,as I felt that 90 would be too small of a bag for my needs.
-
I did the whole bag in stockinette stitch.
-
I skipped the yarnovers because I intend to add a lining and zip to this bag.
-
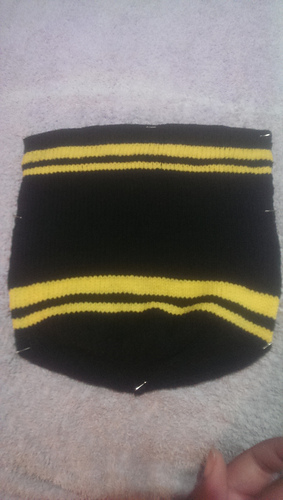
I did about 2.5 inches of black stockinette before introducing my yellow stripes. 6 rows for the bigger stripe, followed by 3 rows for the black in the middle, then 3 more of yellow. I attempted jogless striping but it needs some work.
-
The middle of the bag is all black stockinette as I am going to finish the bag with a hufflepuff robe patch which I wanted to be the centrepiece.
24/10/2017 - I have begun the decreases for the base. Because I made a bigger bag with more cast on stitches I had to recalculate this. Seeing as I had 120 stitches, I began with a decrease row of K10, K2tog, repeat to * (end of round). This was followed by a regular knit row, then K9, K2tog, repeat to. Knit row. Then K8, K2tog, repeat to… Etc. This seems to be working out well with nice smooth decreases.
26/10/2017 - I finished the knitting! Now I need to stitch down the hem at the top of the bag, block and add the lining.
28/10/2017 - I folded the top of the bag in on itself and stitched down the cast on edge to create a more finished hem. This will also give me a buffer area for when I come to sew in my lining and zipper. I’m now blocking the bag to smooth everything out. I’ll hopefully add the patches and lining later this week. I’m debating using some interfacing in the lining to give it a bit more structure.
02/10/2017 - I added a couple of patches to the outside of the bag. It’s great to finally be putting my hufflepuff badge to use!
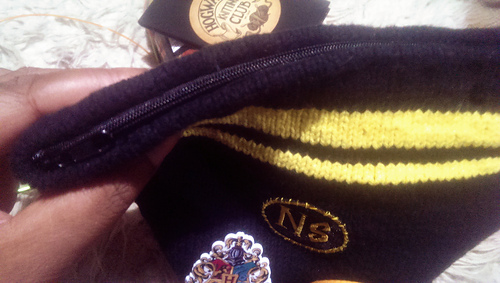
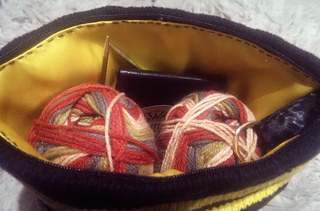
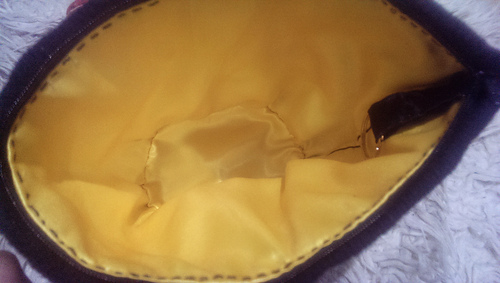
04/11/2017 - I installed the lining and zip today and my bag is finally finished! Yay! The lining is made up of some very budget satin and interfacing from eBay, and the zip was a continuous zip also bought from eBay. I think all 3 items cost me less than £3. I used black satin on the inside of the bag closest to the knitted fabric so that you don’t see the bright yellow through any gaps in the knitting. I used yellow satin for the actually inside lining as it’s always easier to see inside the bag with a bright lining. The interfacing is sandwiched in between the two satins. The construction is simple; a tube of fabric for the walls of the bag and a circle on the bottom like a barrel. It was fiddly to pin but once I started stitching. but came together quickly. While I was at it, I added a loop from a scrap of contrasting black fabric and a keyring hoop for hanging stitchmarkers and other notions. Everything is hand sewn so not perfect but I like the home made look of it.
I’m really happy with the bag. It’s the perfect sock sized project bag. I think I’m going to embellish it with a few more nerdy Harry potter bits and bobs.
 AwkwardKnits >
  notebook > projects > Hufflepuff Pride Knitting Project Bag

3281 projects
stashed
2755 times


 handspun
 queue
queue favorites
 friends
 needles & hooks
 library