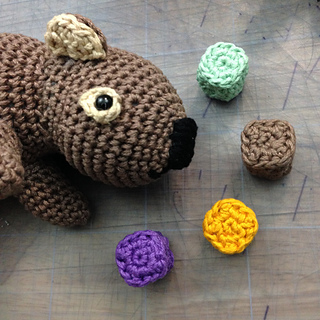
Wombat Poos?
Yeah, wombat poos. One day while streaming I learned that wombats poop cubes. And then decided it might be fun to crochet little cubes. And this is the result.
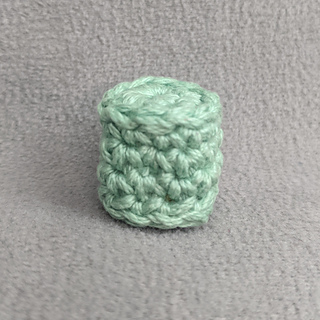
NEW POO STYLE
This new poo is made in 3 parts and sewn together.
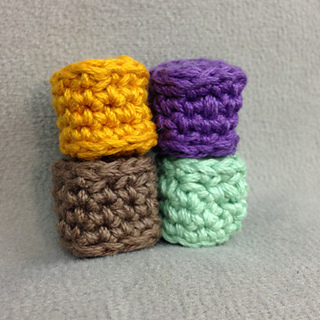
You’ll need a stitch marker and darning needle, and the stitches used are: single crochet - sc, slip stitch - sl st, double crochet - dc, and the invisible finish (that link takes you to a great invisible finish tutorial). In the photos, I use a different color yarn for the sides to make it easier to see what’s happening, but I normally make them all one color.
Top & Bottom (make 2)
start with around a 5” ( or 13cm) tail
R1: MC, sc 4 (4)
R2: sl st into first sc, ch 1, into that same st (sc, dc, sc). (sc, dc, sc) into each of the 3 remaining st (12)
finish off with invisible finish and weave in tail. Bring starting tail to the front of the piece through the center.

Sides
The sides are crocheted onto the bottom, but they will be anchored to a set of slip stitches. In order for the working yarn to be where we want it when we get to the sides we have to set up our slip stitches in a specific way.
You’re going to make a figure 8 with your yarn.
a. Thread a darning needle with your yarn and with the right side of the piece facing you bring the thread from back to front in the 3rd stitch from the left (on any side).
b. Take the thread back through the same stitch, being sure to keep the loop you just created in front.
c. Now bring the thread back through the same stitch from back to front and keep that loop in place as well.
d. Remove the needle, your tail should now be on the front of your work.

e. Pinch the tail as you hold your work and put your hook into the loop on the back side. Pull on the front loop to tighten the back loop around your hook.
f. Now start your slip stitches by putting the hook under both loops of the next stitch. Yarn over with the side of the front loop directly connected to your hook loop (and not your ball of thread).
g. Pull through the stitch and the loop on your hook.
TADAA! You have your first slip stitch. Keep working your slip stitches around yarning over with the side of the front loop that is moving along with you.

R1: Set up your figure 8 as described above. Sl st 11. Pull the thread connected to your ball of yarn to flatten the loop on the front side of your work. Then ch 1 to complete your final sl st.

R2: sl st into 1st sl st, ch 1, sc into next sl st (mark sc), sc 11 (12)
R3-4: sl st into marked sc, ch1, sc into next st and move marker, sc 11 (12)
- finish off with invisible finish and leave long tail for sewing.

Assembly
- Bring sides starting tail inside the cube
- Stitch the top to the body, aligning the tail from the side with the first stitch on the left (on any side) of the top. (I like to stitch mine together by looping under the stitch on the side and then coming back up through the same stitch on the top I came down through, then moving to the next stitch.) Pause part way through to stuff the cube then close it on up!
- Shape up the sides using your remaining tails stitching back and forth between opposite sides pulling just enough to define the sides.
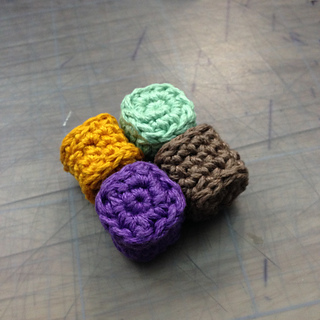
- Tuck in any remaining tails and BOOM! You have a Wombat Poo!


 BetterMonster notebook
  handspun
 queue
queue favorites
 friends
 needles & hooks
 library