

 SarahAnnSmith notebook
Mota Lime Lemon & Paeroa
 handspun
 queue
queue favorites
 friends
 needles & hooks
 library
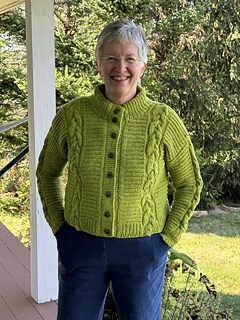
I'm happy!
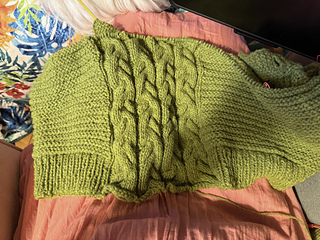
Quite a range of measurements from as knit to blocking to blocked, dried and unpinned. I was aiming for 44, but 43 looks and feels fine. The sleeves are more snug than I prefer, but I'll --honestly, picking up 4-6 more stitches might have been even better, but I'll live with it!
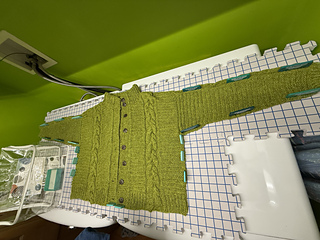
Dry faster, dry faster!!!! Can't believe I started this just two months ago!

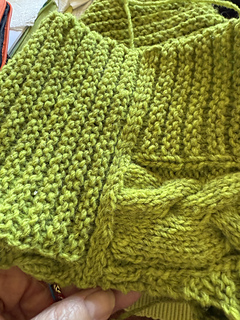
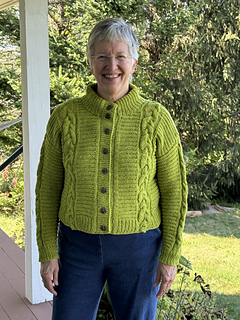
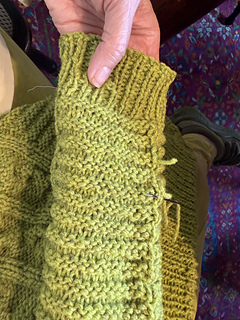
Same as next pic but zoomed out a bit... I really like the double row of bind off because it visually weighs about the same as the two rows of reverse stockinette.
I really like the double row of bind off because it visually weighs about the same as the two rows of reverse stockinette.
Seaming the cast off edges. To do this, do knit stitch bind off per pattern, then lace/ mattress stitch variation to join together. Yes, the Vs go in opposite directions, but once done (see next two pics) it looks just fine.
I seamed from the outside edges in. I wish I had thought to do the "decrease the cable" on the next to last rows. I was able to get it to look good, but that "contract the cable flare" trick would have made it even easier.
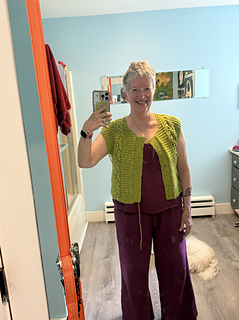
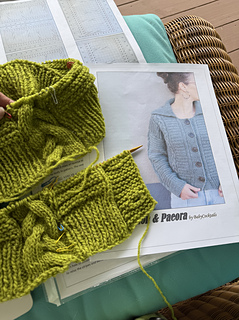
I forgot to take "wearing before blocking" pics...sigh. This in progress to shows that the sweater as knit is definitely fitted and not 5-6" wearing ease. Luckily, blocking helped!
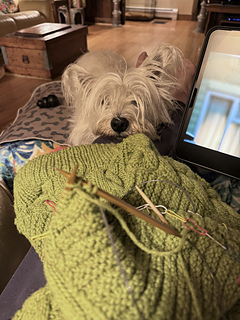
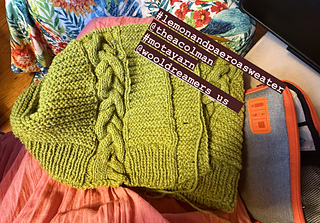
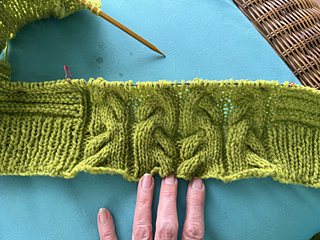
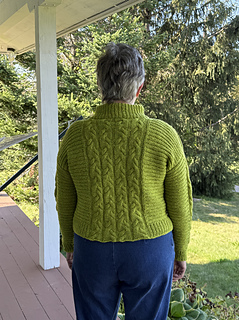
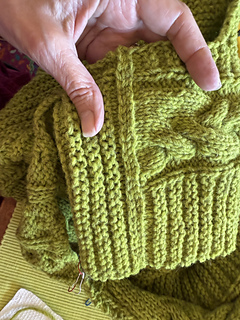
Instead of having all the cables on the back be the same, i mirror imaged them in pairs so that the long bit kisses the long bit across the separating purl stitches.

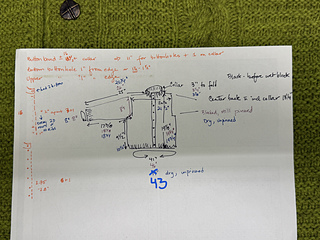
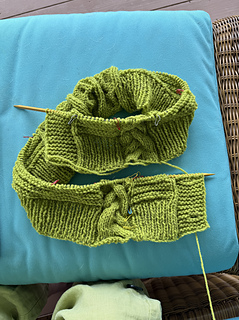
placing the second buttonhole. As you can see the bottom wants to rise up and that 4-stitch buttonhole, with 2 garter stitches on either side, loos off center. Next one I moved one stitch away from the edge. Better!
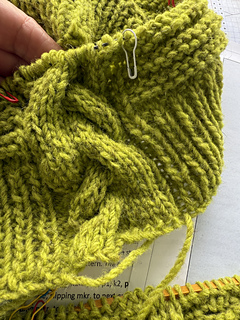
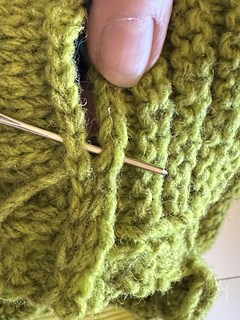
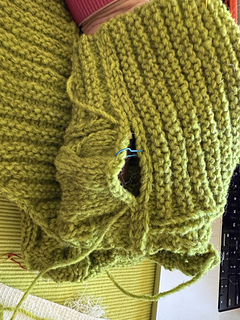
Be SURE to not do what I did: accidentally use the same chart for both sides of the front. I discovered this 13 rows after the first cable. I managed to (OMG, I'm getting better at this stuff) unravel 16 stitches down 13 rows and re-knit it, cabling correctly! I used DPNs and, if needed, a crochet hook to work the last stitch or two. I then used the tip of the DPN to even out the yarn so it wasn't tight on the right and loose on the left. I re-worked all rows from the front (the joy of sliding a DPN from one end to the other). Hope this helps.
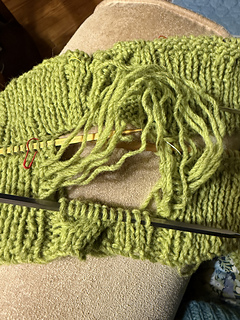
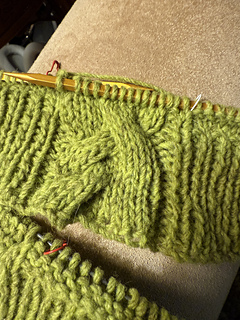
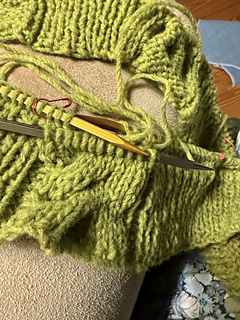
Well ^&*)#&( !!!! I worked the cables the wrong way. I unravelled one more row after this photo. Using two DPNs to re-knit the mess worked a charm
photos above
©
SarahAnnSmith
Mota Lime Lemon & Paeroa
viewed 113 times
Finished

July 3, 2025
September 6, 2025
from Baby Cocktails
22 projects,
in 97 queues
SarahAnnSmith's overall rating
SarahAnnSmith's clarity rating
SarahAnnSmith's difficulty rating
by WoolDreamers
DK
50% Merino, 50% Wool
252 yards
/
100
grams
2702 projects
stashed 1973 times
SarahAnnSmith's star rating
- Project created: July 5, 2025
- Finished: September 9, 2025
- Updated: September 10, 2025