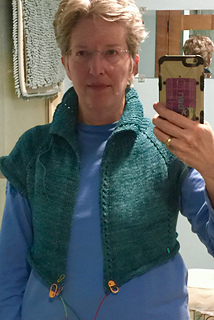
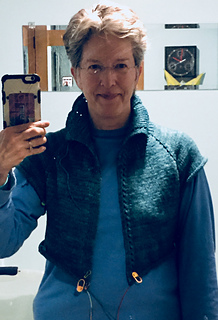
Because gauge is different, did the math and hope this ends up at about 40-41” chest…..
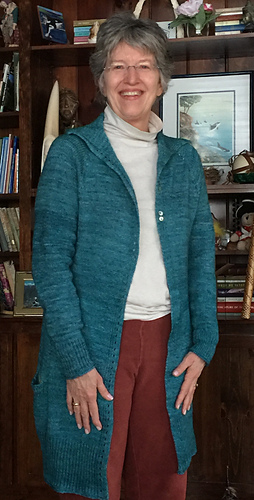
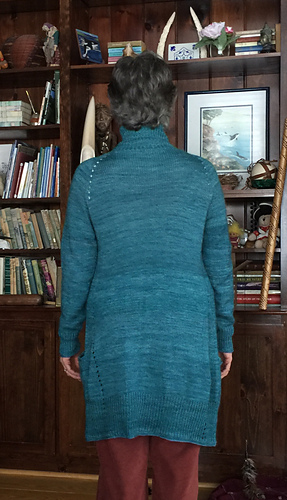
Collar will be 6”. Hope it doesn’t spread out over my shoulders. Looking at other projects no idea why some collars stay in the neck area and others pull way out towards the shoulders.
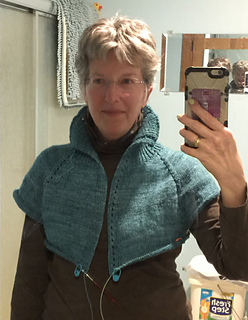
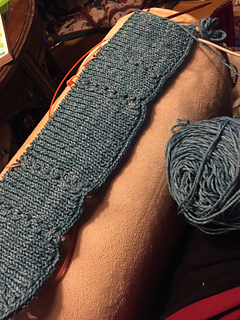
January 21, 2018: have about 5” below separating for sleeves. Had hoped for maybe another inch around, but may b fine when done and blocked. I’m halfway between M and L, so making L with 22, not 19, stitches to 4”. Will perhaps do sleeves in size XL so things don’t bunch up under the armpit. Color in middle in progress photo is off.
Both sleeves done. Alas, I am thinking of ripping it back to the sleeve separation. It fits, but snugly. I’d prefer a full size (about 4”) larger. Sigh. Must think on this.
02-21-2018
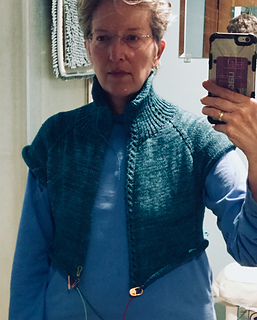
Yup. Frogged it to above the sleeve separation. Since I’m using a yarn with 22 sts. to 10 cm/4 in., the row gauge is also different. So I added two eyelet repeats above the sleeve separation and modified the increases to be working on an XL pattern which is yielding a fitted L (except sleeves, making them a tad larger than XXL as I loathe sleeves tight in the armpit). MUCH better now.
March 4, 2018. Both sleeves done now, maybe 10” on body below sleeve. Definitely was the right decision to frog and re-do. Watched a great Craftsy class with Sally Melville today about fitting your knitting, so will do some math and get optimal length etc and see how that jives with what I want to do with this pattern/sweater.
March 8: will begin pocket opening today!
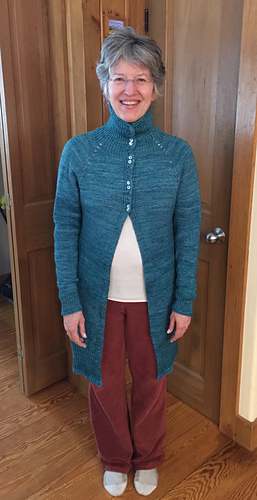
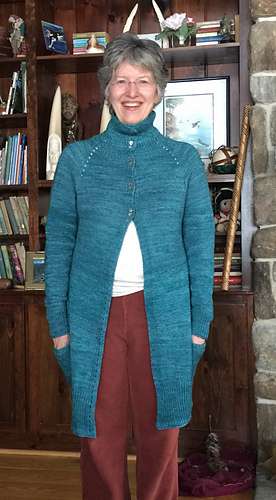
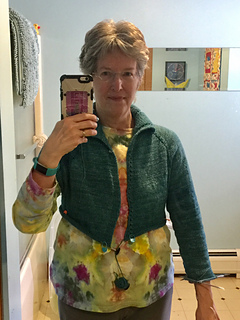
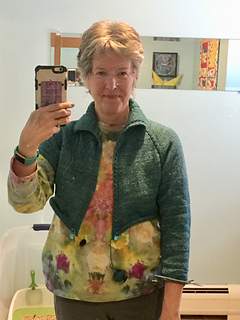
March 24, 2018: Done!
Lesson 1: measure row gauge in search before and AFTER washing swatch. Make swatch 6” long. I knit this to be mid-thighs length. After washing and blocking it grew to knee-length. Luckily it looks good so won’t rip it back to above the Pockets!
Lesson 2: bind off at regular tension, not loosely. With loose bind-off the bottom rippled like a lettuce leaf. Ripped out the last 3 rows and much happier.
Did about 6” ribbing, same as collar, on the bottom but used same needles as body so it would be easier to block out nicely. I really liked Satokichi’s sweater so modeled mine after hers.
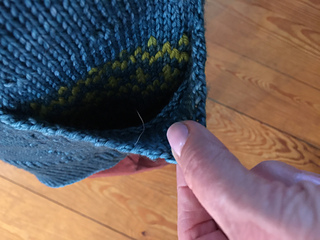
Used one contrasting color, a lime green cascade 200. It was thicker yarn but worked ok for the little amount used.
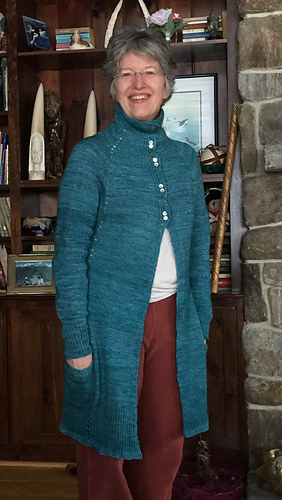
Lesson 3, thanks to the employee at Heavenly Socks in Belfast, Maine: I wanted to use shell buttons so the collar wouldn’t be heavily weighted down. One size was too small, the next way too big. So I used 2 of the 4 plies of yarn to snug up the eyelets to be used as buttonholes.
Lesson 4: sit ups would improve the look of my belly.
Lesson 5: go down TWO sizes to collar to help it stand up better it was fine before blocking, but after the hand of the cloth softened considerably and the collar got a good half inch or more longer. My next one I will make the collar the patter’s 12 cm or so.
Lesson 6: measure hips. If making longer, perhaps size up after waist
Love the pattern and will make another soon.


 SarahAnnSmith notebook
  handspun
 queue
queue favorites
 friends
 needles & hooks
 library