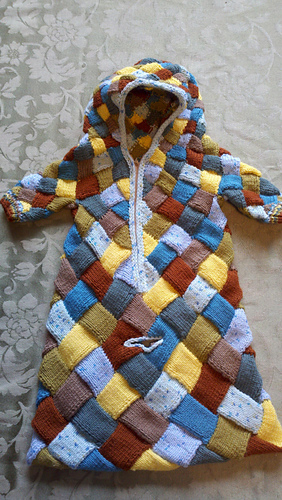
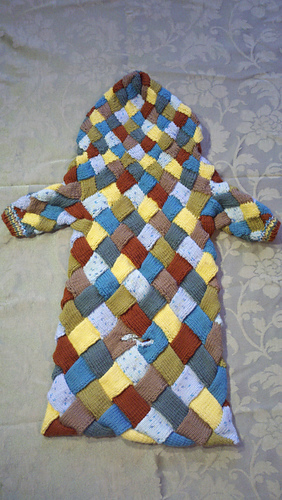
This is my first real Entrelac project. I worked the two swatches at the beginning of the book (“Classic Entrelac” and “Classic Entrelac in the Mirror”) with pretty good success, so I figured that I was ready to start this project. That, and my coworker had her baby a little early, so my hopes of having a completed project to gift to her before the baby arrived have been tossed out the window.
I’m using Berroco Comfort DK since it’s soft, machine-washable, comes in fun colors, and is reasonably priced. As for the colors I chose -- I knew just from looking at her that she was going to have a boy, so picked out fun colors that I’m sure Stephanie’s husband won’t throw a fit over and yet weren’t black, brown, and gray.
The pattern started with the cuffs, but being me, I opted to start with the body, which meant starting at the bottom of the bunting.
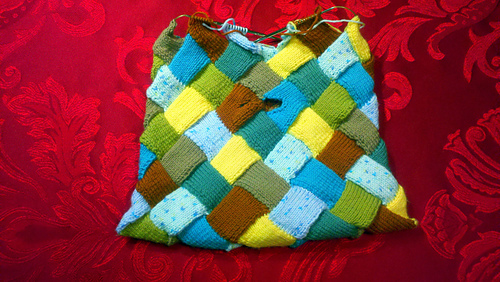
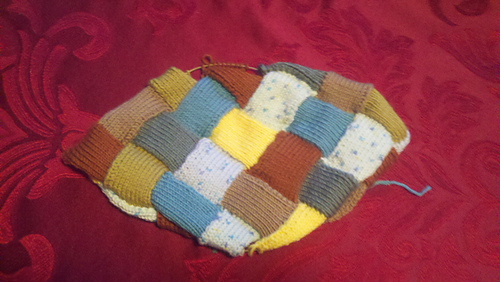
I’m halfway thru Tier 4, and so far, so good!
Update 1/03/2011: I’m almost done with Tier 7 and started one of the sleeves. I’ve also decided to sew in ends as I go, so the ends get taken care of as each of the rectangles become “land-locked” by a new Tier.
Update 1/07/2011: Easy peasy…I’m on Tier 10
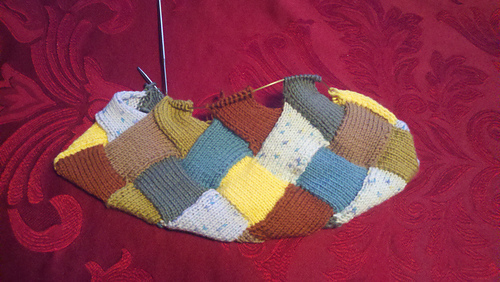
Update 1/17/2011: Haven’t had much time lately to work on this, but am on Tier 13 and have one sleeve completely done (w/ ends sewn in on both body and sleeve) and am almost done with the second sleeve…
Update 1/20/2011: Now have both sleeves added onto the body on Tier 14 and am ready to work this yoke-style; my only change was to not bind off the squares and graft, but to pick-up along sides in the underarm where they meet the body and kitchener together.
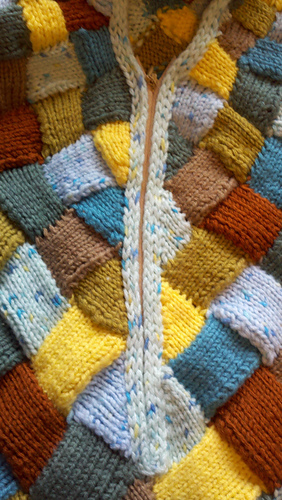
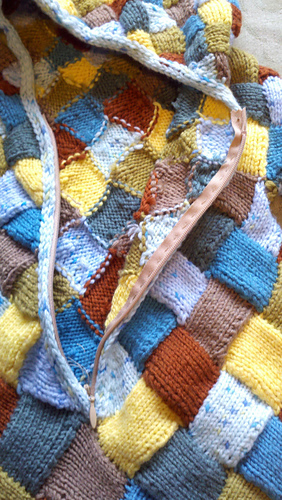
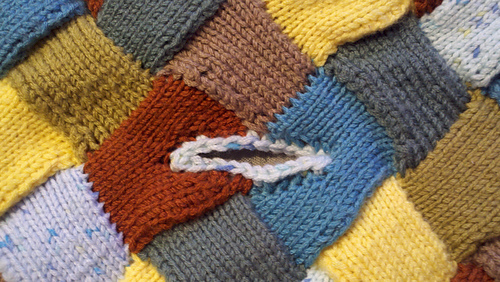
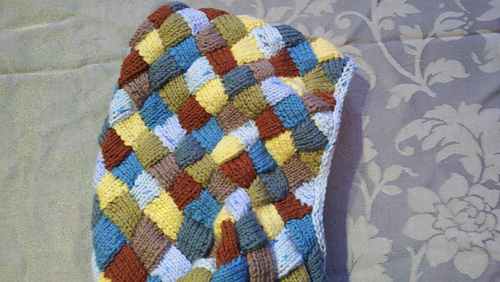
Update 2/3/2011: Finished! Well, almost. Still need to block and am waiting for the zipper that I ordered to arrive. I deviated from the pattern for part of the hood and the finishing for the zipper and hood border and the buckle hole border. Rather than binding off half of Tier 27 and all of the following half Tier, the stitches were left live and grafted to the matching sides using the kitchener stitch. For the zipper and hood border, I added a 4-st applied I-cord. The I-cord was started using a crochet cast-on and two separate lines were knitted up each side, starting from the bottom and ending at center of the hood. Then, the two lines were joined at both ends using the kitchener stitch for a seamless look. For the buckle border, I still picked up the suggested number of stitches, but bound together the front and back sides with a round of single crochet that was done in a clockwise round from bottom to top, so the resulting border is a continuous crochet row. I’m very happy with it and am showing it off to as many knitting friends as I can while waiting for the zipper to arrive in the mail. I hope to gift it this week.
Update 2/19/2011: Finally put the zipper in! This is my first ever zipper, so I was pretty nervous, but all went oddly well. : )


 TheGeoknitter notebook


 projects
 handspun
 stash
stash queue
queue favorites
 friends
 groups & events
 needles & hooks
 library
 blog posts
 Project




 stashed