This is the second project like this. The first was
http://ravel.me/karenramel/sc1t5
(I feel this TOE-UP SOCK YouTube by Sabinovitchcam is easier to follow on this project than the prior)
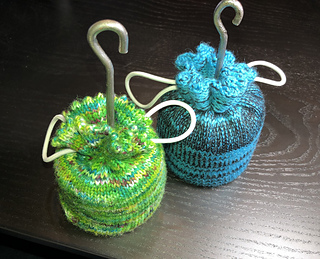
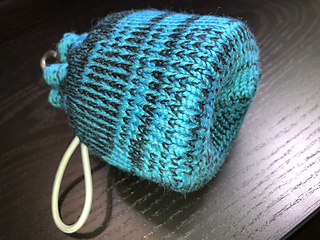
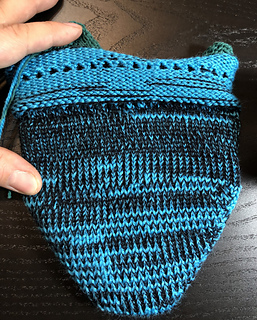
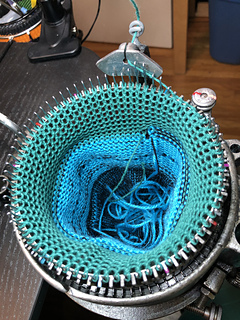
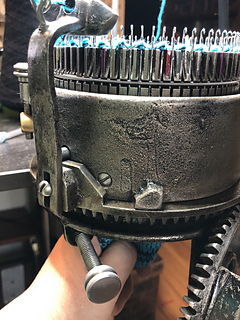
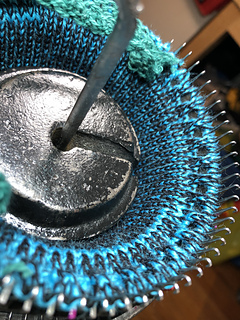
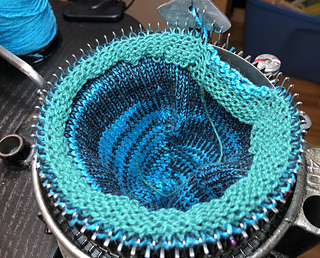
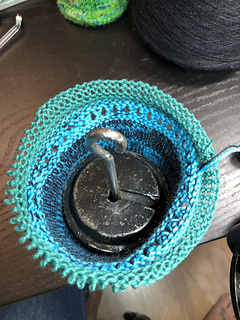
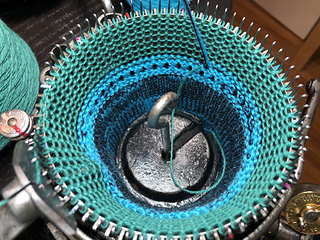
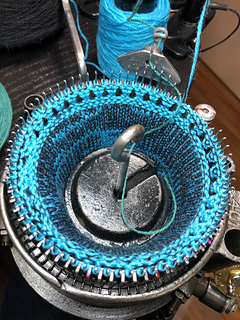
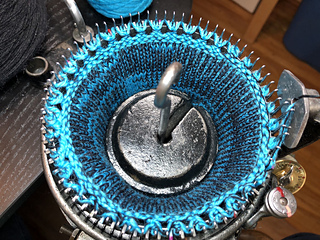
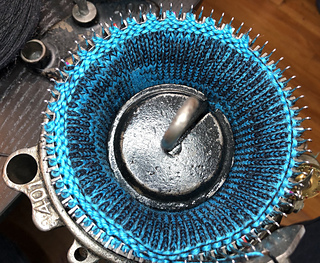
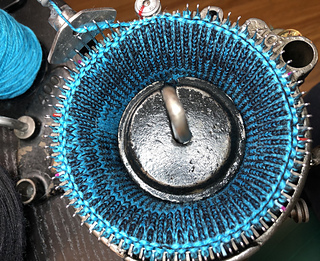
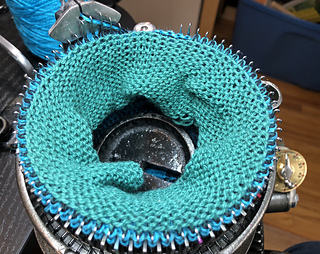
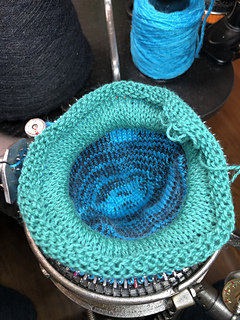
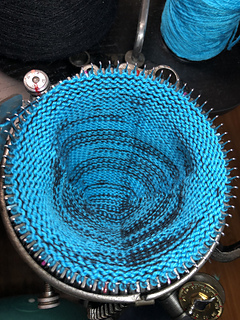
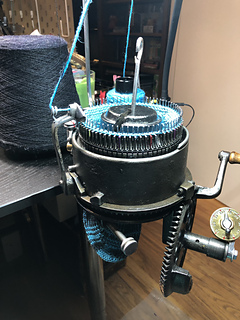
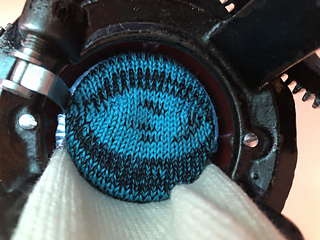
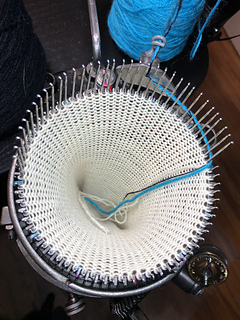
This project uses the 72 cylinder (worsted yarn) for three weights=1647g/1.648kg/58.14oz/3 lb 10.1oz
The prior was 54 cylinder (sock yarn) for two weights=1114g/1.114kg/39.3oz/2 lb 7.3oz
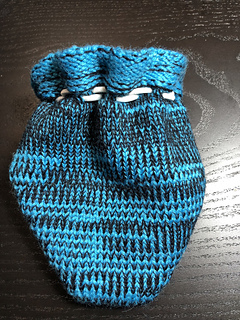
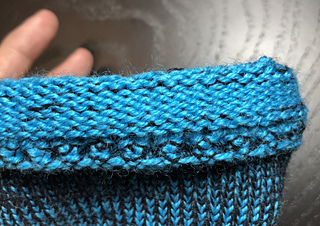
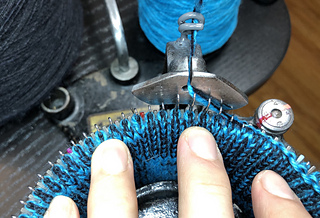
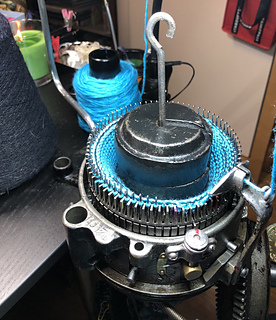
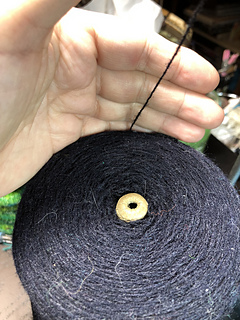
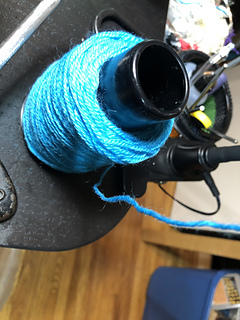
Tension set at 4. Used yarn without labels - skyblue worsted and very thin black.
REQUIREMENTS:
-be familiar and able to knit Toe-Up sock (only toe and tube needed)
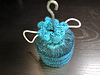
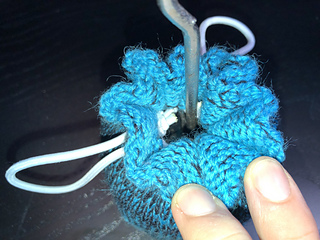
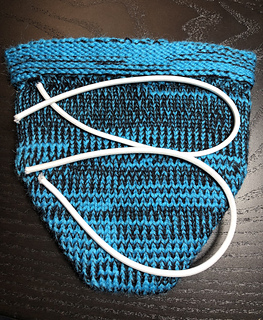
-be able to make a picot (for drawstring and hung cuff decorative edge)
-be able to cast-off/capture live stitches to end piece.
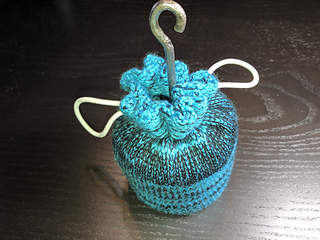
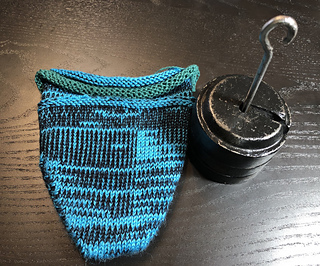
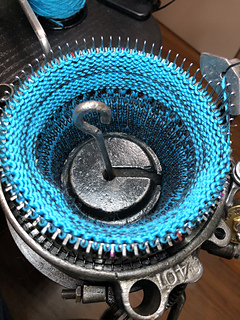
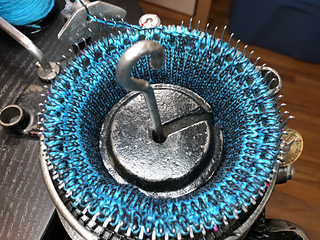
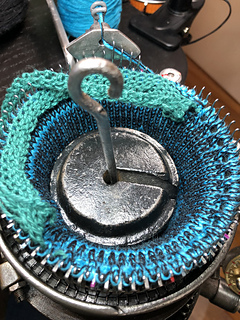
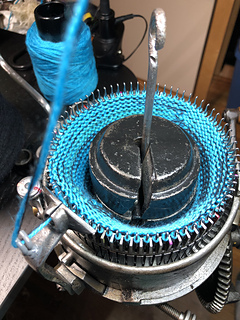
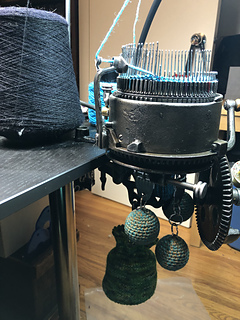
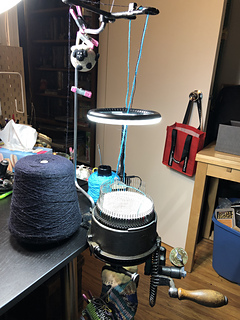
-buckle weights, buckle, heel fork weights
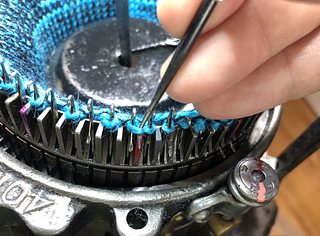
-csm pick for stitch manipulations
-scrap yarn and working yarn of choice
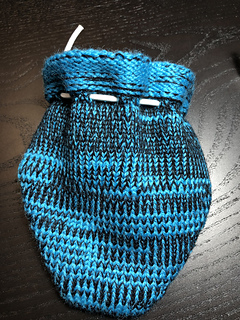
-drawstring material (I used stretchy elastic cord)
-foam circle cut to slightly larger diameter of buckle weight puck (optional)
NOTES: There is no ribbing (mock or otherwise) on this project. It is assumed that you understand any time a project has scrap yarn added that the working yarn is cut with a minimum arm length (as needed) or not cut (if work continuing after scrap)
“CSMTOEUP” YouTube video posted by Sabinovitchcam - it has LOUD music and no conversation so feel free to dance along or mute.
TOE-UP VIDEO FOR METHOD: https://youtu.be/ybg8Ao3VUhc
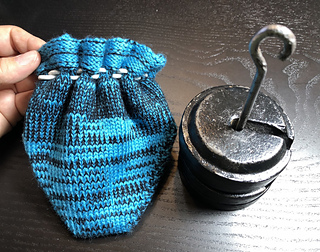
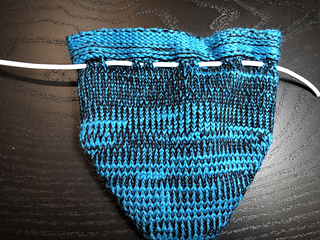
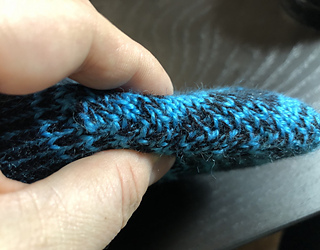
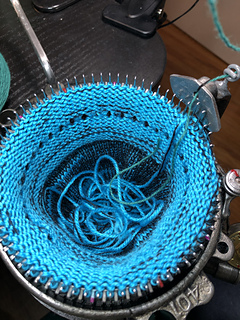
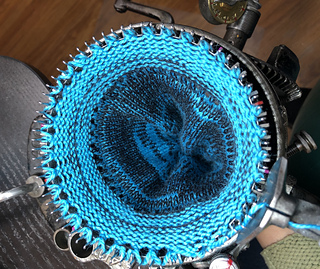
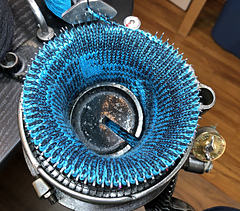
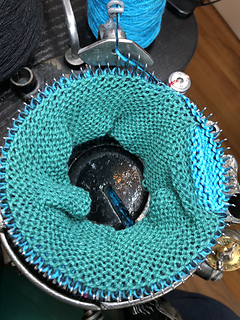
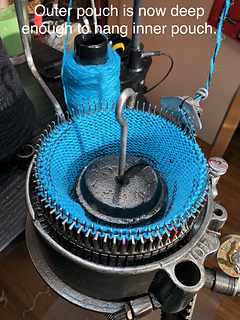
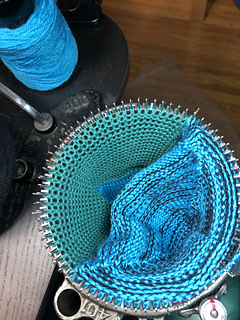
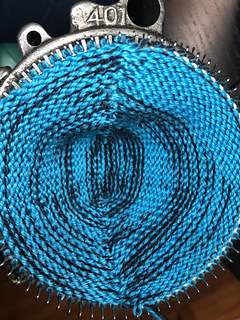
SUMMARY: I created an inner part first on the 72 cylinder with Toe-Up method. Once toe was done I knitted enough rows that the pouch was deep enough for the number of weights on the stack I wanted it to cover. Do this by placing the buckle weights inside the work. Temporarily put scrap yarn on machine, working approximately 70-90 rows scrap and leave on machine for next segment.
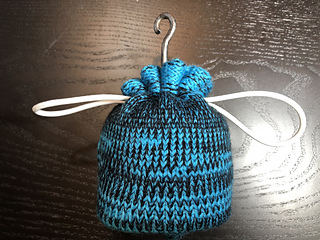
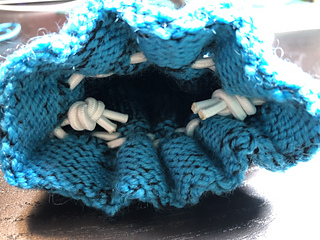
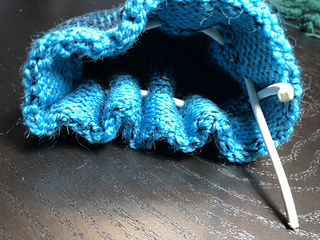
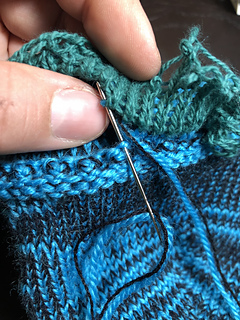
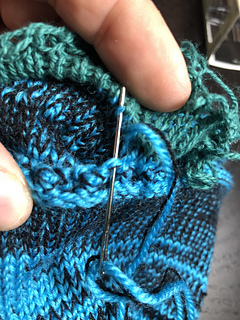
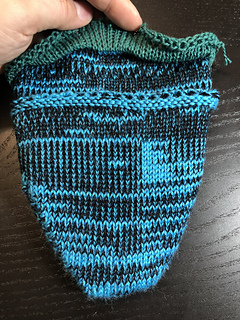
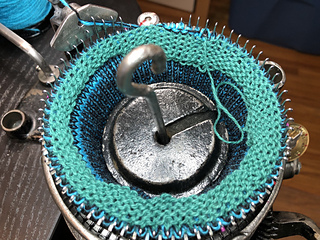
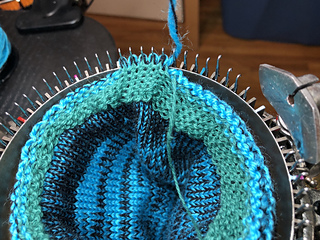
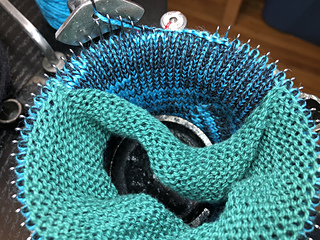
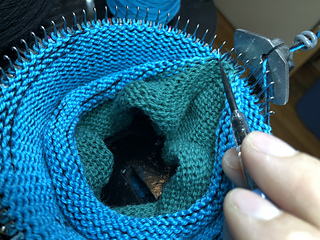
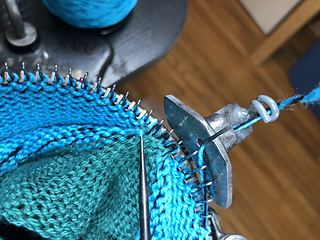
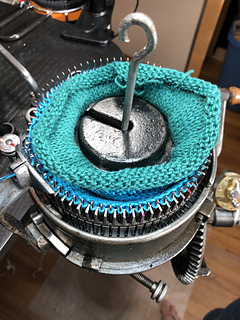
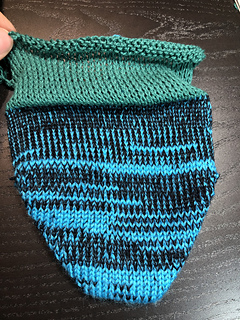
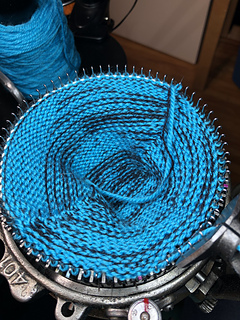
Next was to start a new toe up, working to the approximate depth the previous was. Remove previous from scrap to determine (ensure not to remove scrap holding live stitches, just remove scrap from current project’s toe. New pouch should be slightly deeper than prior. Thread in first pouch working yarn tails and hang on current project in machine. CAREFULLY and slowly crank to attach. Knit a couple rows (as desired) then consider drawstring portion which is to do a picot row. Knit a two rows and consider what kind of ruffled edge you want.
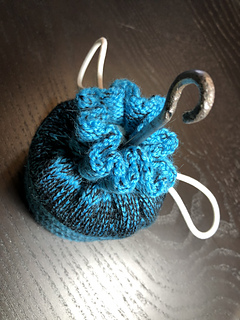
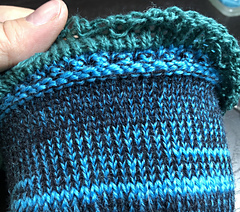
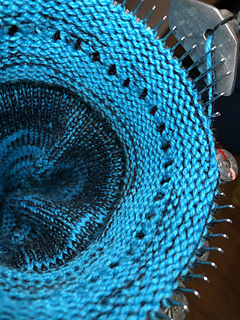
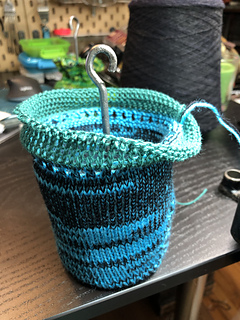
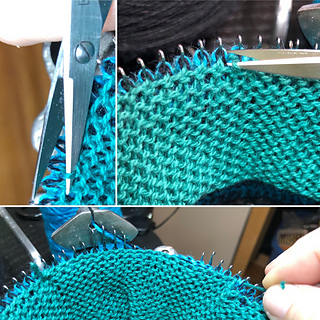
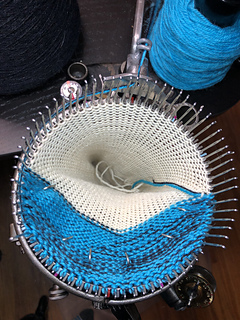
I chose a different reverse look than my original stack cover by deciding I liked the purl side so without cutting the working yarn, I unthreaded it from the mast/etc and temporarily ran scrap yarn for 10 rows. I took the project off the machine (cut scrap) and turned it inside out, rehung it and removed temporary scrap.
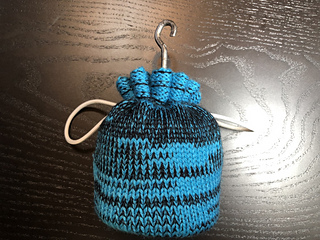
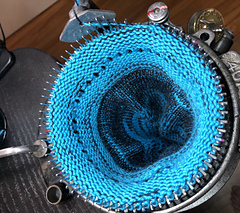
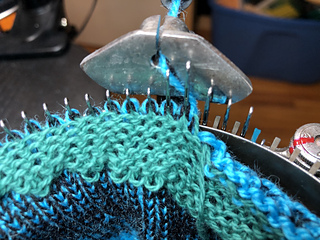
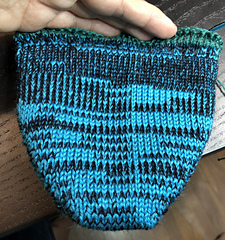
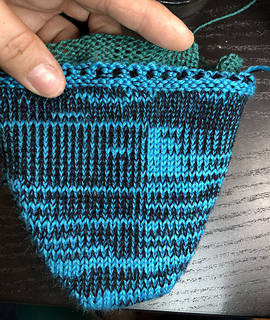
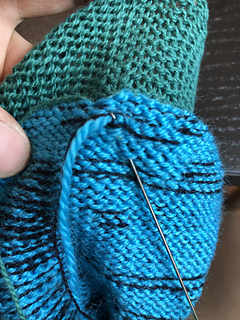
I knitted ten rows, did a picot row then knitted ten. Finished piece by knitting 10 rows of scrap yarn. Take project off machine and secure live stitches. I chose to use what I call a single pass-off-machine bind off which simply has the darning needle threaded with the working yarn tail and passed between live stitches and a row I can easily identify on the machine (I used the row right above the drawstring).
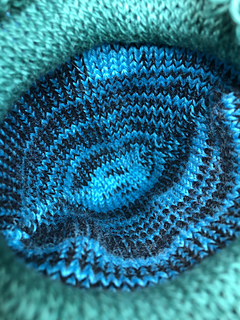
My choice to use a purl side made the ‘ruffle’ edge less ruffle obvious than a knitted side would look but after steaming to flatting things nicer, I still like how it turned out.


 csmlove notebook
  handspun
 queue
queue favorites
 friends
 needles & hooks
 library