This is the third project like this. (I feel this TOE-UP SOCK YouTube by Sabinovitchcam is an easier video/method to use on toe-up starts)
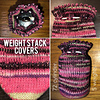
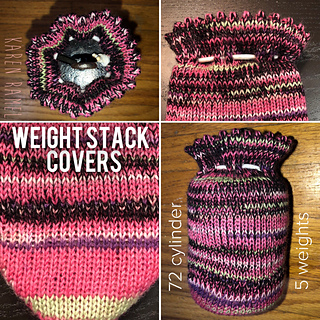
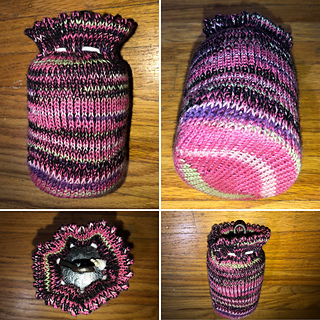
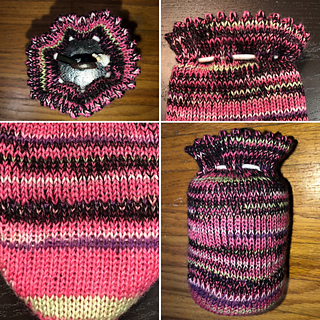
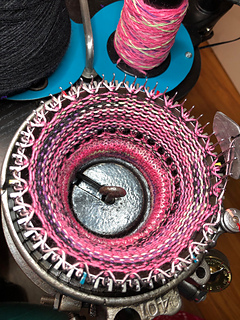
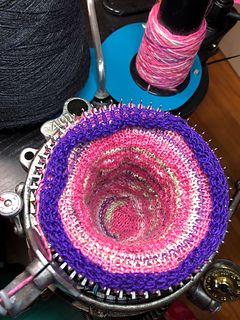
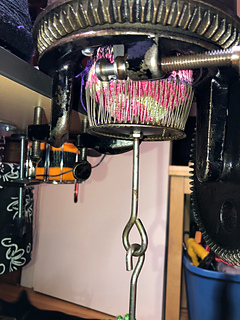
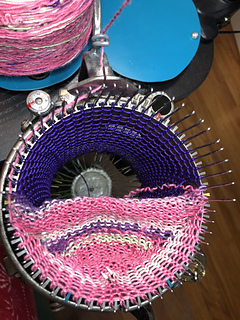
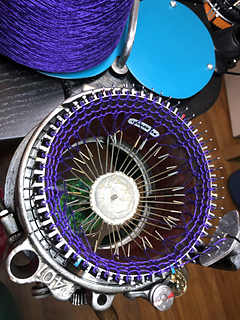
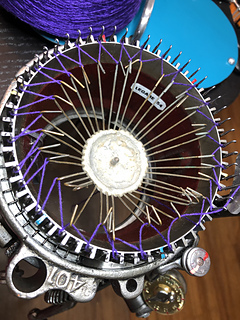
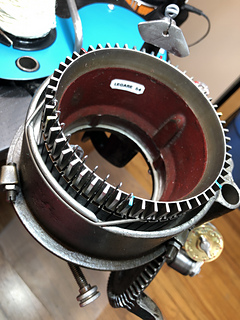
This project uses the 54 cylinder (sock weight yarn) for maximum 5 weights (height minimum 10.5cm). Diameter of 8cm.Tension set at 4.
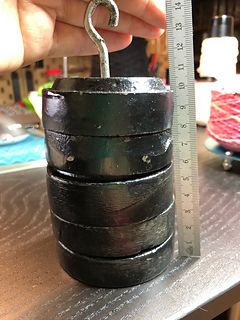
5 weights: 5lb 9.2oz/2530g/2.530kg/89.25oz
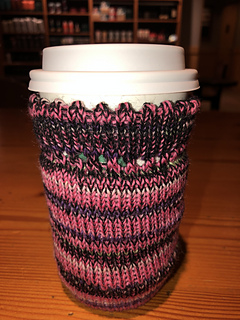
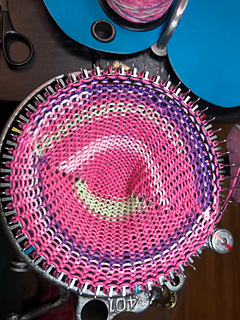
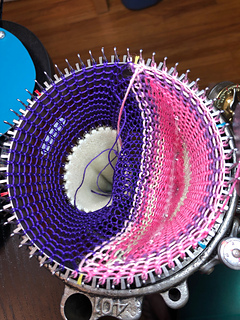
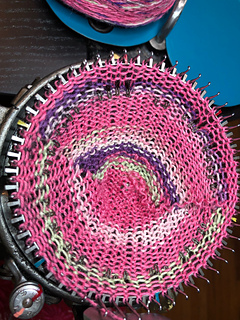
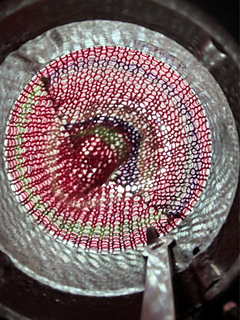
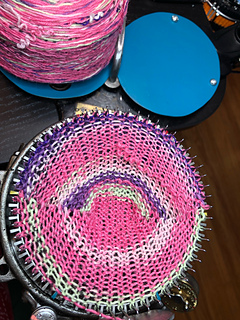
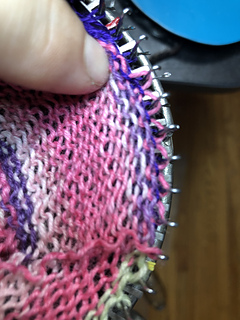
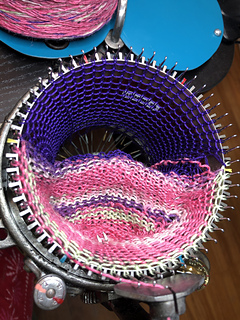
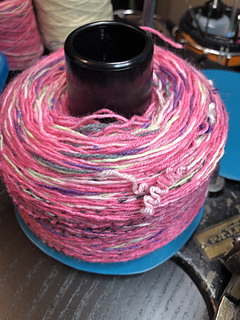
Used pink and cream sock yarn (noted) and a black unlabelled yarn.
REQUIREMENTS TO RE-CREATE:
-be familiar and able to knit Toe-Up sock (only toe and tube needed)
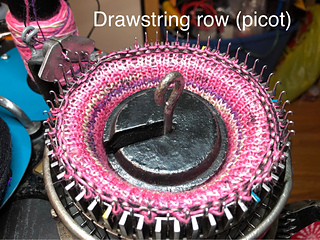
-be able to make a picot (for drawstring and hung cuff decorative edge)
-be able to cast-off/capture live stitches to end piece.
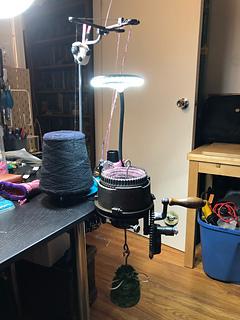
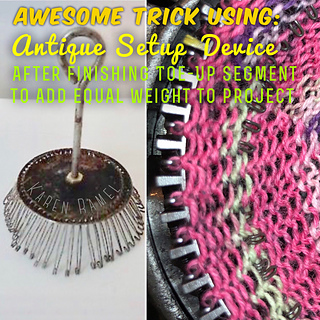
-buckle weights, buckle, heel fork weights
-csm pick for stitch manipulations
-scrap yarn and working yarn of choice
-drawstring material (I used stretchy elastic cord)
-foam circle cut to slightly larger diameter of buckle weight puck (optional)
It is assumed that you understand any time a project has scrap yarn added that the working yarn is cut with a minimum arm length (as needed) or not cut (if work continuing after scrap)
This project did not need any kind of ribbing.
“CSMTOEUP” YouTube video posted by Sabinovitchcam - it has LOUD music and no conversation so feel free to dance along or mute.
TOE-UP VIDEO FOR METHOD: https://youtu.be/ybg8Ao3VUhc
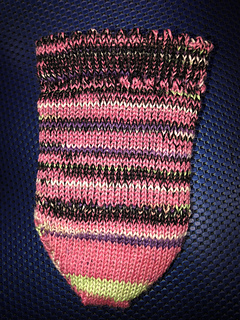
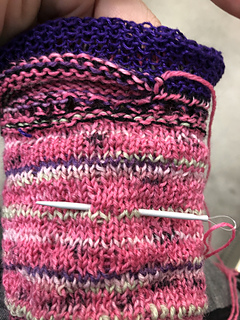
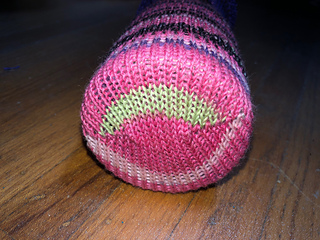
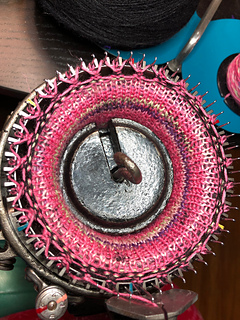
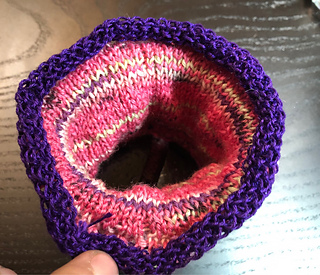
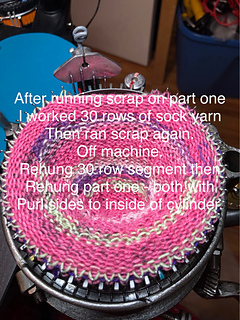
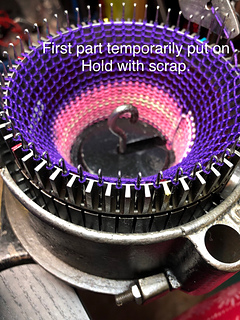
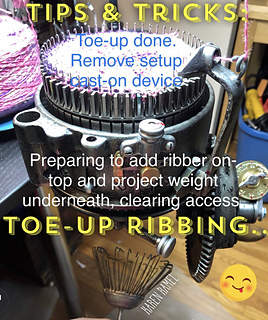
SUMMARY - PART ONE: I created an inner toe-up part first on the machine using recycled pink yarn (hence its kinked looking - it won’t be visible on the constructed piece so it wont matter - and I will be steaming the finished product so I do expect it to lay nicer then. Tension 4 is a bit loose so once toe was done I tightened it to 2.5). Knitted three rows with center on-top weight added. Applied setup device to cleared underside of piece in machine and worked 35 rows and knitting then ran scrap.
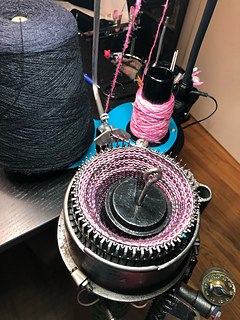
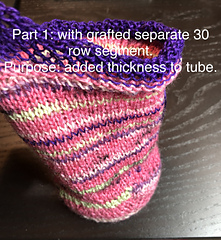
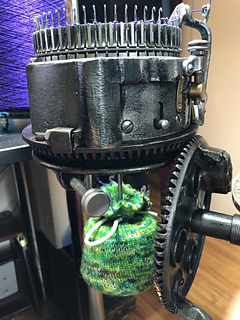
Deciding to test things creatively, I then chose to crank out a 30 row segment then ran more scrap and removed from the machine. The idea is to perhaps apply the 30 row segment to this first segment to make a double thick/more padded wall. I hung the first segment on the machine just above the toe finish, then hung one end of the 30 row segment (in retrospect I should have just “single pass (off machine) bind off” the live 30 row segment to the initial pouch - not rehung - but was messing around anyway). I then “single pass (off machine) bound off the top of the 30 row segment so that all 30 row live stitches are now secure and the segment fully attached to the original segment. Put aside.
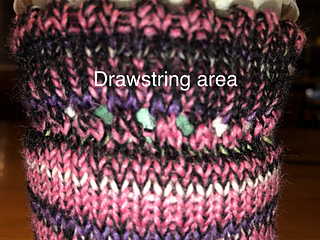
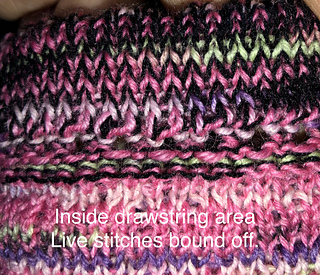
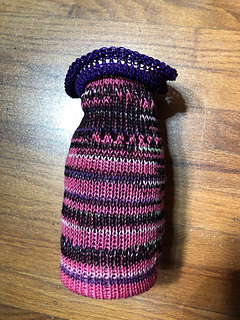
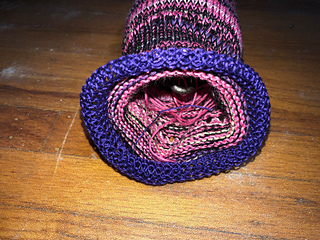
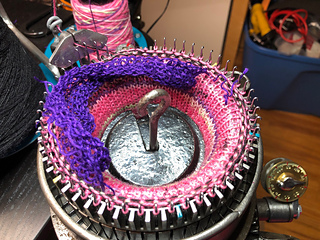
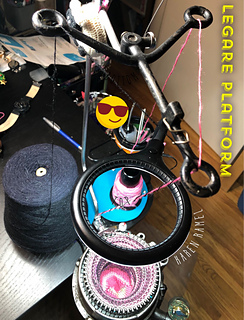
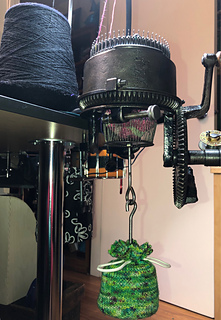
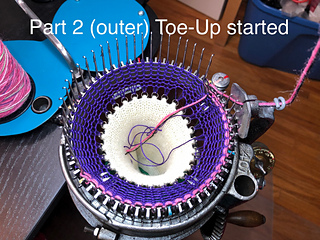
PART TWO: create outer toe-up segment on the same 72 cylinder, optional add ribbing. I couldn’t decide what I wanted to do as a design if anything so I ended up starting this just very slowly to give myself deciding time. Started with non-recycled pink sock yarn until the toe was done then added the black. I had wanted to do ribbing but got impatient with myself while also thinking perhaps THAT much side padding would be overkill being that it will ALREADY be three layers thick on the sides. Cranked out 35 rows, hung part one, worked two rows, did the drawstring row (picot), worked 10 rows, did picot (hung hem edge/ruffle) worked 9 rows and ended with scrap for 10-15 rows. Took off machine. Will bind off live stitches on the bus on the way to work tomorrow, add the two pieces of elastic tomorrow after work, and once I have a mailing address, will send this out soon to whom I offered it to. :)


 csmlove notebook
  handspun
 queue
queue favorites
 friends
 needles & hooks
 library