Photo sequence and instructions for making a simple crochet button with yarn alone. No plastic ring necessary!
This demo used worsted-weight cotton yarn and an E hook. You’ll also need scissors and a tapestry needle.
Use your project yarn for a perfect match to a cardigan, or try a contrasting yarn. If the yarn is soft or very fine, try working with it doubled or tripled, or with a stronger yarn.
Instructions
I’ve written this out in full to avoid crochet abbreviations. Please ask for clarification if anything doesn’t make sense!
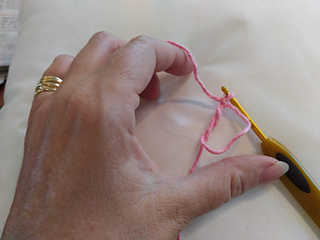
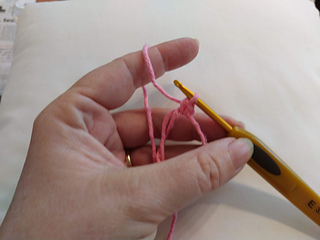
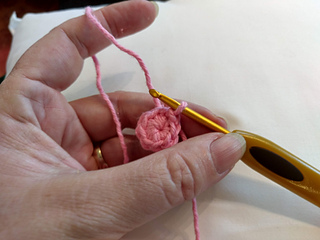
Start with a magic circle by looping the yarn once or twice around your fingers and crossing the tail over the loop towards you. Leave about eight inches of yarn as the starting tail, since you will use that to sew on the finished button.
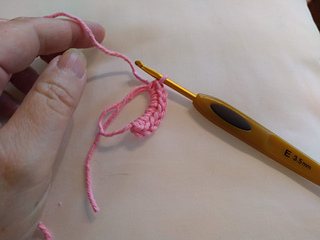
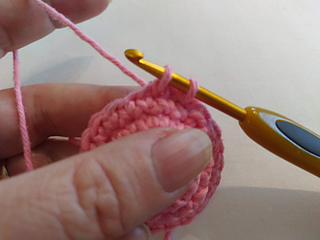
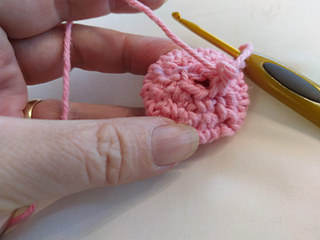
Chain 1 into the circle, then make 8 single crochet stitches into the circle. Snug up the loose end of yarn to close the circle. Pull it tightly to close the hole completely.
To make a ‘jogless join’, put the hook through both loops of the first single crochet stitch (not into the first chain-1), yarn over, and pull through all loops to make a slip stitch. Chain 1, then make your first single crochet of the round into the SAME stitch you just joined into with the slip stitch. It may help you to put a marker into this stitch so you will see clearly where to join on the next round.
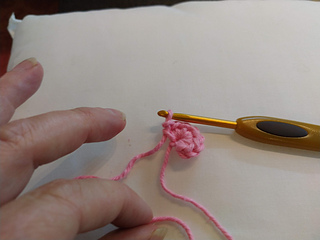
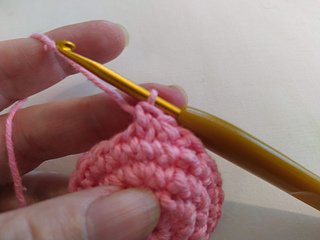
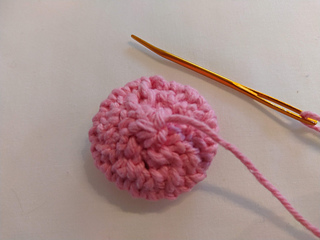
Round 2: Make 2 single crochet stitches into each of the next 7 single crochet stitches in the round.
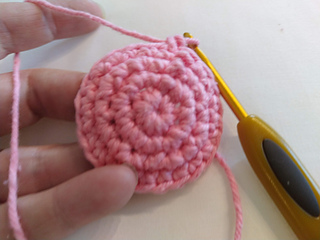
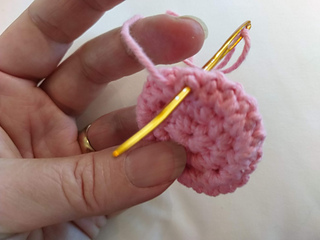
Optional, shown in the photos: work another increase round for a larger button. This time, increase in every other stitch.
Make a join.
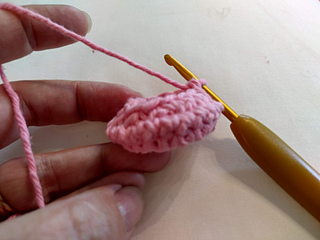
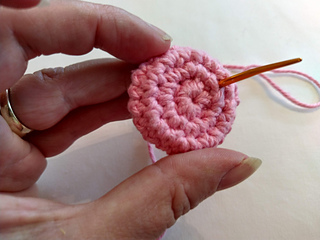
Round 3: Work even, with one single crochet stitch into each stitch in the round. This round will make the rim of the button.
Option: Work into the back loop only for a sharper edge.
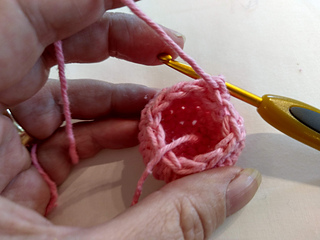
Option 2: Work a row of chain stitches into the edge. Start the round by pulling the joining loop to the back of the work.
Make a join.
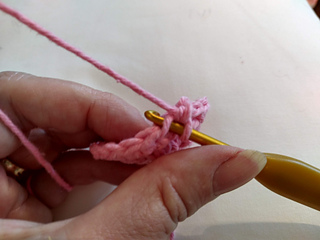
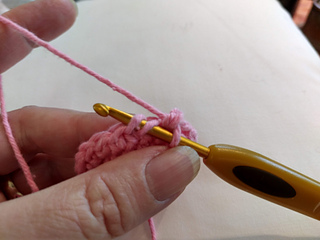
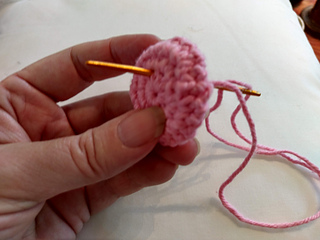
Round 4: Work a decrease in each pair of stitches after the joining stitch. The round will start to curl upwards as you work, to make a cup. Single crochet into the last stitch, then make a join.
I like to use an invisible decrease for smoothness: see the photos for illustration. A conventional decrease also works fine.
Push out the center of the cup so that the decreased round falls to the back of the button.
Rounds 5 (and 6 if necessary): Work another decrease round, and keep decreasing until you are down to 4 or 5 stitches.
For a raised shank on the button, work one additional even row into the last 4 or 5 stitches.
Cut the yarn, leaving a long ending tail of about 15 inches. Pull yarn all the way through the last loop of crochet to secure it.
Thread the ending tail on a tapestry needle. Snug up the magic circle once more. Leave the starting tail of yarn coming out through the back of the button.
Take the needle through the front loops of the last round of stitches, and pull the end tail of yarn tight to snug up the back of the button. Press the button flat with your fingers.
If you made a shank on your button, take a couple of tight wraps of the yarn tail around the last round of stitches, and sew through the shank a few times to shape it.
Sew through the button with the tail of yarn, going through the full double thickness of crochet. Don’t split the yarn, but put the needle between the stitches. Make small running stitches in the first round, going in a circle on the front of the button. The button is fairly soft at first, but it will flatten and become much firmer as you sew through it multiple times.
Shape the button as you embroider through it, and watch your stitch tension so it doesn’t become distorted.
It does depend on the type of yarn you have used, and how tightly the button was crocheted, but you can make a firm, serviceable button from almost any kind of yarn if you reinforce it well enough at this stage.
(I recommend a ball button for particularly soft or fluffy yarns like brushed mohair, boucle or chenille.)
You can overcast the rim to taper it, or embroider just behind the rim for a thicker, flatter edge. Finish off and snip the yarn close to the back of the button.
Thread the starting end of the yarn on the tapestry needle, and use that to sew the button on your project.
I hope this is helpful!
Ball button video:
https://youtu.be/G9yXoRgQ8yg


 elshelbey notebook
  handspun
 queue
queue favorites
 friends
 needles & hooks
 library