I wanted a project in a heavier weight of yarn to change up from the tight gauge projects I’ve been doing. I also wanted a (hopefully) quicker project, so I thought a sweater vest would be perfect. I wanted to make something that felt like a fairly classic sweater vest, with “library” vibes, hence the project name.
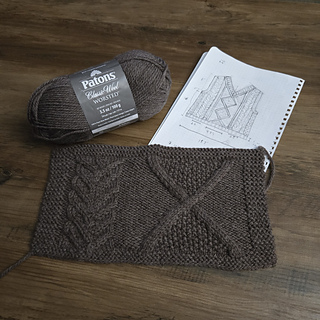
I started first by drawing up the basic idea I had, then looked over some stitch dictionaries and photos of cable designs I liked. I knew I wanted one larger cable in the center and two smaller ones on the sides.
Once I had two I liked, I made a swatch on size 7 needles. The center cable came out to about 4.75 inches wide, over 25 stitches. The smaller cable was 2.5 inches over 16 stitches. Reverse stockinette was 4 stitches per inches.
The main cable design was about 5 inches over one repeat. With all of that, I was able to take some measurements and draw up the design to scale.
The vest will be seamed and knit from the bottom up. Time to cast on!
01-09-2026
I originally cast on with size 5 needles for the ribbing and cast on about 96 stitches. I knit on size 5 needles for 8 rows of ribbing, then switched to size 7 for the cable rows.
I knit to about 20 rows of the cable chart. I realized that I just wasn’t feeling the staghorn cable, despite messing around with some alterations on the swatch. I also felt that ribbing wasn’t stretching sufficiently, so I decided to unravel and start over.
After a few days of swatching and trying different cables, I found something I was happy with and cast on again.
I followed Roxanne Richardson’s technique Tuesday videos for doing a tubular cast on with any cast on and her video for using a tubular cast on with any ribbing pattern.
I cast on 52 stitches using a long tail cast on a size 5 needle. I did the first two setup rows like Roxanne demonstrates (yo between first row of knits, slwyif and knit on second row). I then switched to size 7 needles and did one more setup row of slwyif and knit stitches. After that, I started the 2x2 ribbing, adjusting the stitches so I had repeats of p1k2p1.
I knit 8 rows after the setup (total of 10 rows of ribbing), purled all of row 11, then started the cable charts.
01-12-2026
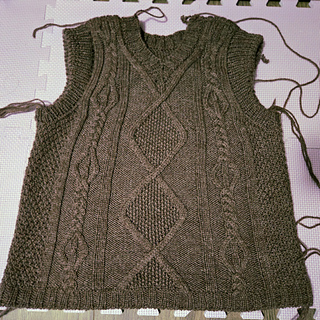
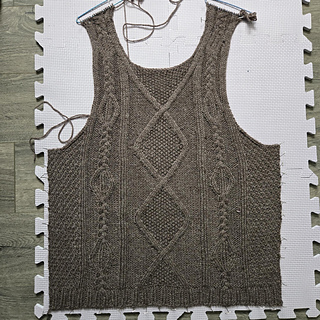
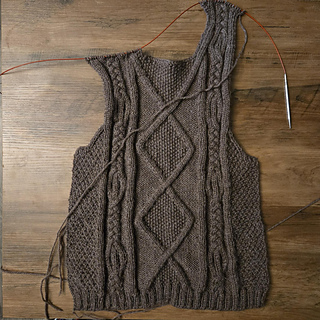
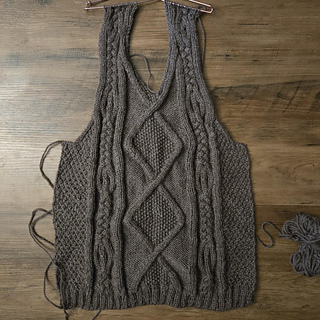
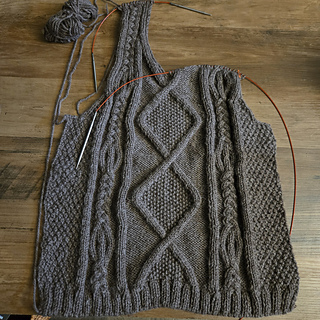
Made good progress over the weekend, I’m almost done the front panel. I decided to add some short rows for bust darts. I worked those 4 rows in so the turns were in the last column of stockinette.
I also did short rows toward the end of the shoulder. The intention was to match the slant of my shoulder. I might drop down and modify the braid cable so it’s extending out instead of braiding at the shoulder join.
01-22-2026
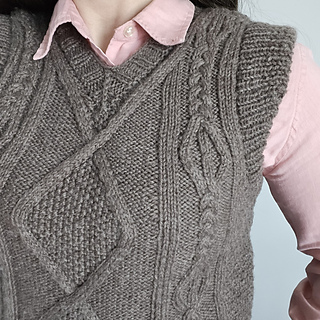
I went back and changed the cable pattern on the shoulder for the front before finishing the other shoulder. I had originally forgotten to include the section of the cable where the braid strands separate out.
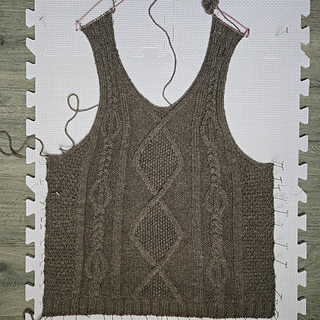
For the back, I detemined where I wanted the neckline to start and modified the cables to work with the shaping for the neckline. For the section where the braid strands separate, I had the strands slant to match the slant of the neckline shaping.
I finished one shoulder for the back and hope to finish the second shoulder tonight. Once the shoulder is complete, I will block the two pieces, but keep the shoulder stitches live.
I plan to do a 3 needle bind off for the shoulder seam, then seam the sides together. After that, I will add the ribbing to the armholes and the neckline, then block again.
01-28-2026
I seamed up the sides with a chain crochet and used a three needle bind off. I tried it on and realized that I messed up the size of armhole. I should have noticed when I blocked since I measured the armhole when pinning, but oh well. It should be an easy fix.
I plan to undo the 3NBO and unravel a few rows on the front and the back, then redo the bind off. I’m happy with the neck width, so I think I’ll be happy with fit when I fix this
02-03-2026
I fixed the armhole size issue by unraveling the shoulders and redid the bind off.
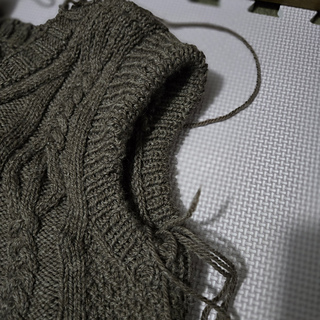
I then added the ribbing for the armholes and neckline. I picked up stitches using a crochet hook and knit the ribbing on a US size 6 needle.
For the neckline, I knit 8 rounds of 2x2 ribbing and I did a centered double decrease at the center front. To bind off, I did a k2tog-tbl bind off for some additional stretchiness.
For the armholes, I knit in 1x1 ribbing. At the 8th round, I started short rows to increase the length at just the top so there wasn’t too much bulk.
I then mirrored the short rows and then knit an additional 8 rounds. I folded the armhole in. For the bind off round, I would pick up the matching stitch from the crochet pick up, and knit that stitch together with the current stitch. I did this as a did a k2tog-tbl bind off.
Now time to finish weaving in ends!
02-05-2026
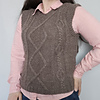
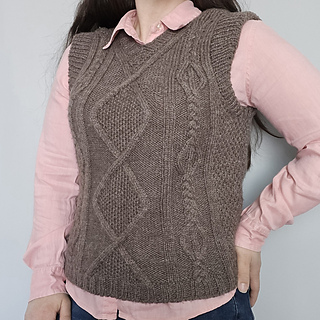
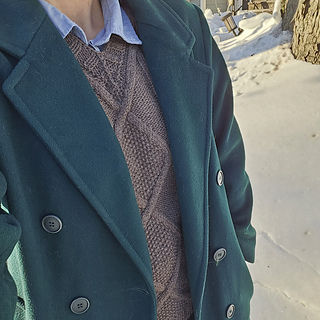
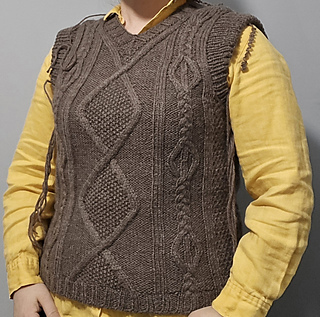
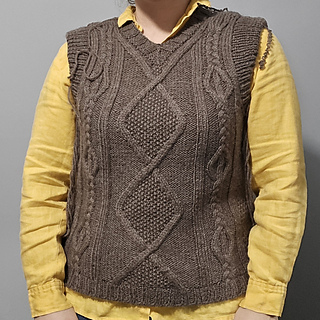
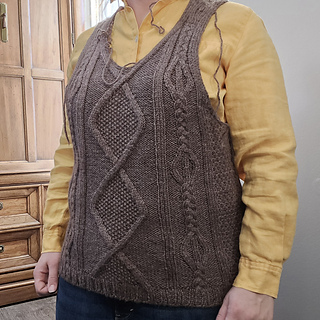
I finished up all of the ribbing and weaving in the ends. I still want to give it one more wash before truly saying it’s finished, but it was close enough that I decided to wear it to work.
I’m really happy with the fit, particularly at the bust and shoulders. For the waist and hips, I think I should have gone for less positive ease.
The vest came out to the exactly the dimensions I had intended, so this a good lesson to keep in mind for future projects. I had drawn up the vest to so that the body from below the bust would be the same circumference. The intention was for vest to have a straight line down the side seams because I thought it would look good, but I should have done some shaping.
I have about 10 inch difference between waist and hip circumference. There was little bit of negative ease at the hips, but too much positive ease at the waist. In retrospect, if I wanted that “straight” look I had in mind, I should have done a little bit more negative ease at the hip and did a little bit of shaping to at least maintain the same amount of ease at the bust.
But I’m still pretty happy with the overall project


 fiberopticknits notebook


 projects
 handspun
 stash
stash queue
queue favorites
 friends
 groups & events
 needles & hooks
 library
 blog posts
 Project
 stashed