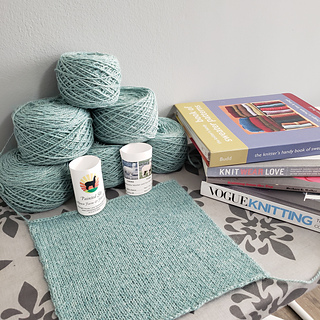
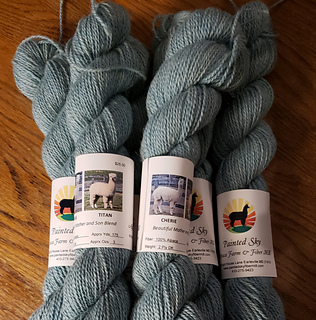
I got this lovely alpaca yarn last year at the Fredrick Fiber Festival. I have been a bit intimidated by this project, so I have been putting it off. But I finally did a gauge swatch and I am excited to get started!
I am not following a specific pattern, but will referencing a few resources to hopefully achieve a good fit. These resources are:
- Vogue Knitting
- Knitting From the Top - Barbara Walker
- Knit Wear Love - Amy Herzog
- The Knitter’s Handy Book of Sweater Patterns - Ann Budd
- Roxanne Richardson’s Technique Tuesday videos on sweaters
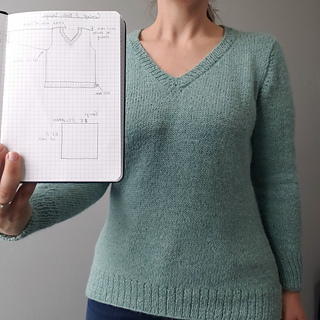
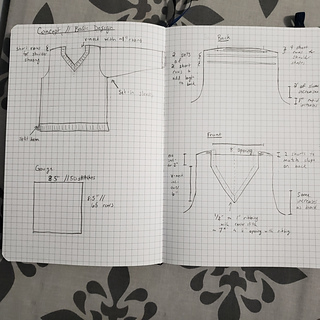
I took my measurements and will sketch out the plan for the final sweater. I’ll update the notes with the process.
02-09-2024
I cast on! To get to this point, I had to make a couple of design decisions:
- Sweater sleeve style
- Neck shape
- Desired ease
- Knit construction (top down vs bottom, no seam vs seam, etc)
To make these decisions, I did a few things. First, I read up on the styles. Roxanne Richardson’s videos were helpful to understand the differences between sweater styles. With this new information, I paid attention to the sweaters I owned. I tried to note what type of sweater they were and what I liked/disliked about the fit.
There were some key things that I noticed about my fit preferences:
- A lot of sweaters would ride up the front and the neckline would feel confining
- Some necklines were too high, even without riding up
- Some sleeves wouldn’t have enough depth for the armhole and felt too tight on my upper arm
- Sweaters would some negative ease and waist shaping looked best on me
- I liked the look of a set in sleeve much more than a drop shoulder or modified drop shoulder
With these observations, I made the following design choices:
- Set in sleeve
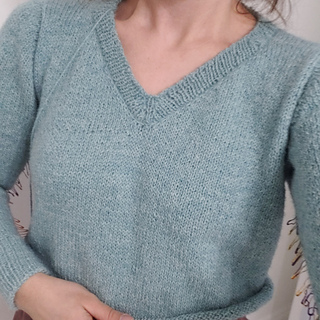
- V-neck sweater
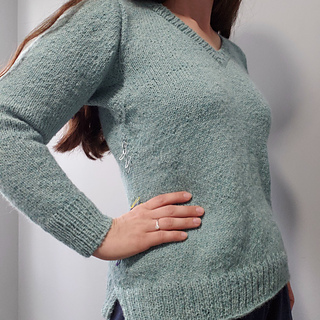
- Some negative ease (~1 inch) and increases to match shape of hips
- Top down so (1) Flexible length depending on yarn available, (2) Allow me to knit stockinette in the round for below the arm hole and finish off with some easy “TV knitting” toward the end
- Include some short rows in back for shoulder shaping and increased length / curve in back to accommodate the shape.
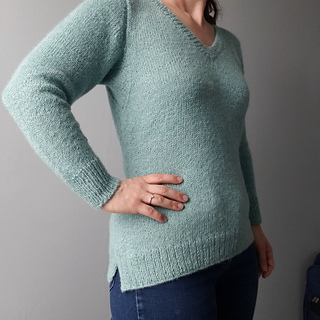
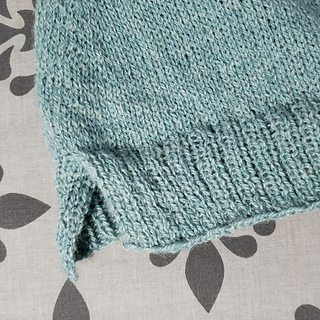
Another thing I considered about the design is the fiber content. Alpaca creates a fabric that drapes rather than hold its shape, so I wanted to lean into that. In particular, rather than have fitted ribbing at the bottom of the sweater, I plan to do a split hem that will drape.
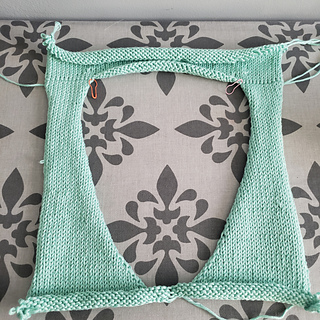
The last thing I did before casting on was do a “mock up” of sorts. To do the top-down set in sleeve, I followed the method explained in “Knitting From the Top”. I had never done this before, so I used Coboo yarn I had in my stash to try it out before doing it with my alpaca yarn.
With all of that design and practice, I cast on using a provisional cast on to start the back!
02-18-2024
Some good progress has been made and some mistakes as well.
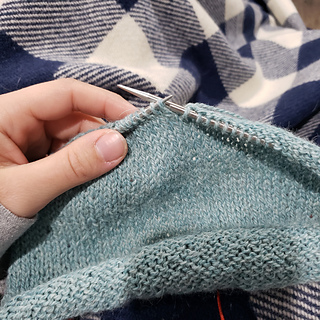
I knit the body until I finished the two cakes of yarn I used to do the two front pieces. I alternated skeins each round to avoid extra ends to weeve in. I then moved onto the neckband and will start the sleeves next.
Mistakes I made:
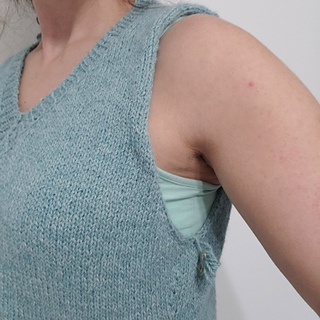
I realized a little too late that I didn’t follow my own directions and didn’t do steep enough decreases to shape the bottom of the armhole. Now my arm hole is too deep, but I have some ideas how to work around it and will detail my chosen solution in the next update.
I also probably should have adjusted my shoulder slope short rows to account for the additional height from the neckband. From this initial try on, it seems okay, but I’ll know better when the garment is complete.
03-01-2024
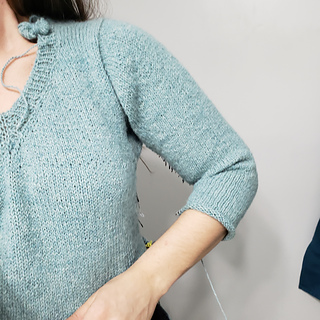
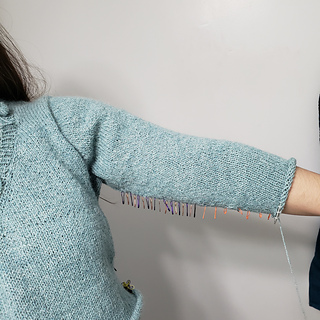
I finished the first sleeve and found a solution for the large armhole problem.
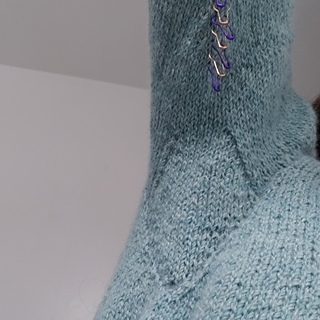
For the armhole, I had considered just filling in the bottom of the armhole by just knitting back and forth to fill in the bottom, but I sort of liked the extra space under the arm. My concern was that if I just picked up the armhole and started knitting the sleeve, I would end up too much space under the forearm and have a “bat wing” look to the sleeve.
I did some research and saw that some people add an underarm gusset when they want extra space in the underarm, but don’t want oversized sleeves. I ended up coming up with this plan to make a gusset:
- Pick up stitches for armhole
- Knit short rows for underarm, but also do a decrease on every row. This let me create the extra length for the gusset, but also reduce the circumference of the sleeve
- Once underarm gusset was at the appropriate length to get the bottom of the sleeve to the correct spot, do the sleeve cap short rows
- After sleeve cap short rows, start knitting the sleeves with directional decreases on bottom to finish off the gusset
- Once sleeve was at the appropriate circumference, knit the sleeve normally with distributed decreases to match the taper of my arm
I also decided to do ~2 inches of ribbing at the bottom of the sleeve with US size 4 needles (two sizes smaller than needles for rest of sweater). I like the way it looked and wrote down detailed instructions, so I will repeat that for the second arm.
Once I’m done with the sleeves, I plan to finish the body. I also plan to redo the neckline, but I want to finish the body first.
03-16-2024
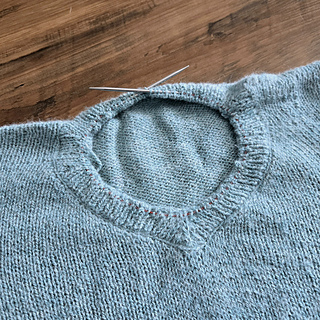
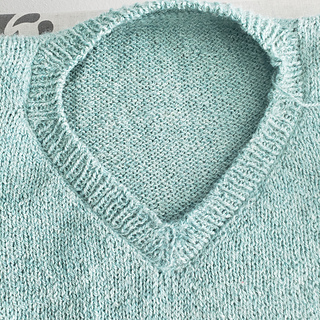
Second sleeve done and I redid the neckband. I had calculated how many stitches to pick up based on my gauge on the US 6 needles, but it wasn’t enough for the ribbing on the size 4 needles. I used the ribbing on my sleeves to get an understanding of the ratio of the size 6 to size 4 and recalculated the number of stitches on that.
For this second time around, I decided to do a crochet slip stitch edge. I also added some decreases close to where the neck lines up the shoulders. This was to account for where there were straight lines (the back and first ~1.5 inches of the front).
03-31-2024
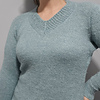
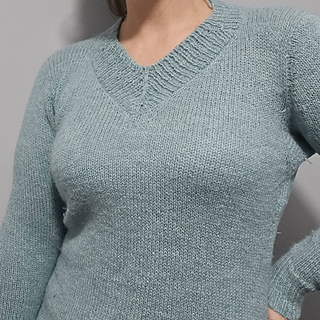
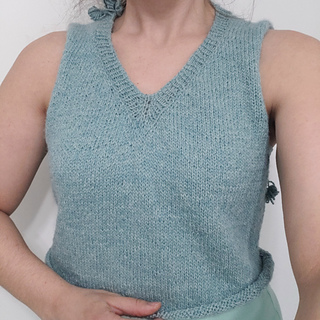
All done! I am so happy with how it turned out. Even though there were mistakes, such as making the armhole too large and not starting the waist decreases earlier, I think it looks great.
This was also my first time blocking a large project and am amazed by the difference it makes!
02-18-2026
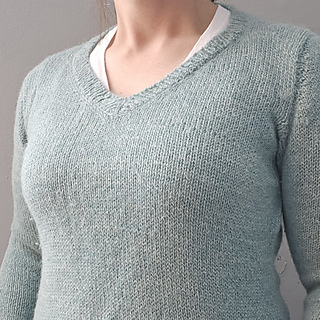
For “Finish It / Fix It February”, I decided to address an issue that had been bothering me.
The neckline was too wide and my undershirt was always visible. I decided to pick up the collar and add more rows. I didn’t need as many rows in the back, so I did German short rows to add the extra height to just the front.


 fiberopticknits notebook


 projects
 handspun
 stash
stash queue
queue favorites
 friends
 groups & events
 needles & hooks
 library
 blog posts
 Project