I bought some pima cotton yarn from Terrapin Fiberworks two years ago in a sale with the intention of knitting a summer top. The yarn parn is a one of a kind (OOAK) from dye testing, so I decided to knit a tank top and knit top-down so I can ensure that I have enough yarn.
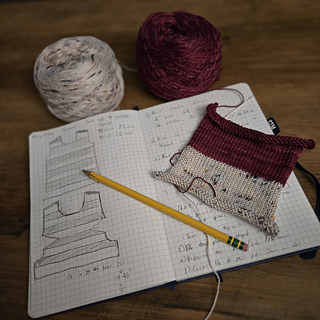
The yarn came as a pair, one semi-solid purplish color, the other a silver-ish speckled yarn that complements the purple well. It made the choice to do stripes easy.
I did a gauge swatch on US4 needles, which I had used for a previous project that used Terrapin Fiberworks cotton yarn. I got roughly 32 st/4 inch and about 35.2 rows/ 4 inch.
I wanted just about an inch of ease for the body, but close to 0 ease around the bust. To avoid having to do a bunch of increases and decreases around the bust, I opted for short rows.
From my measurements, I needed about 3 inches / 28 additional rows for the bust shaping. This is how I determined the stripe height.
I knew I needed an even number of stripes in the bust-shaping short rows. This allows me to insert the additional stripes, but still end up on the correct color when I finish the short rows and continue knitting the body.
I decided to go for ~1.5 inches per stripe because I preferred longer stripes for this project.
The plan for this top:
- Start with saddles for the top of the shoulder
- Pick up stitches for the front & back
- The knit short rows across the pickup to create a shoulder slope.
- For the back, I will add increases along the neck side of the short row. After the short rows, I will cast on stitches and join the two shoulders and knit as one piece from there
- For the front, knit the short, knit 1 stripe, then do neck side incincreases for the 2nd stripe. On the 3rd stripe, case on stitches for the neck and join the two front pieces
- After 2 complete full front stripes, do the bust shaping short rows.
- After short rows, do arm side increases to make arm hole
- From there, cast on about 2 inches for under arm and join the front and back and knit in the round
- after the waist, start hip increases
05-15-2026
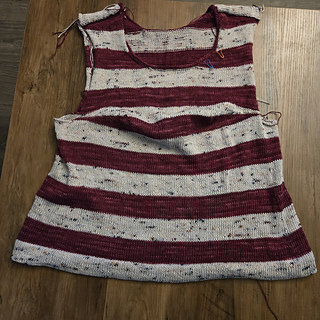
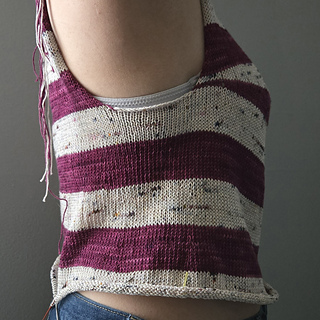
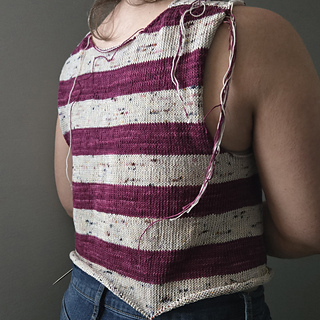
I made a lot of progress during a work trip and am happy with the results so far. I did make some changes to the original plan, namely joining the underarm immediately after the bust shaping instead of 2 stripes later. I probably should have ripped back and also did arm side increases to form the arm hole.
I will probably knit another two stripes and do a folded hem. Once I’m done the body, I will add an i-cord to the neckline. Then I will assess how much yarn I have left and see if I can add small sleeves. Otherwise, I will likely finish the sleeves with an i-cord as well
06-09-2026
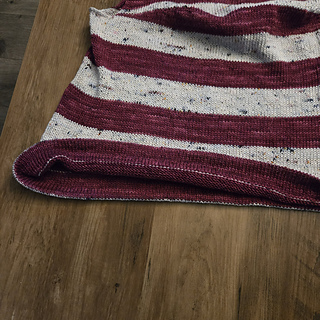
Of course I knit about 80% of this project over the course of a week, but have spent triple that time on the final details. I had knit a folded hem several times, but had unraveled the work for various reasons such as not liking the length, the increases, or how I cast off the hem. I ultimately found a length I liked and grafted the live stitches from the hem to the inside of the shirt.
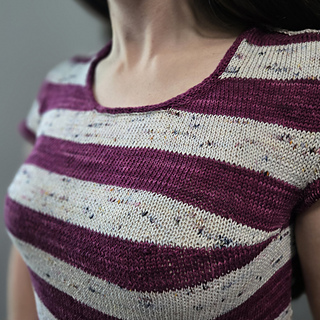
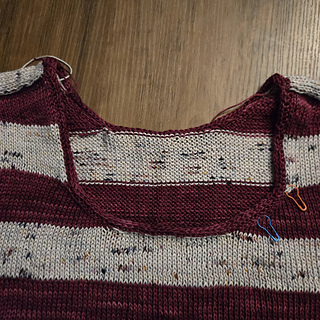
I then similarly had multple starts and stops for the collar. I knew I wanted an i-cord edge, but trying the applied method wasn’t my favorite. I ultimately picked up stitches and purled two rows before doing an i-cord bind off. I followed this tutorial from Purl Soho, but instead of picking up stitches, I was working with live stitches. Tutorial link: https://www.purlsoho.com/create/attached-i-cord-tutorial/
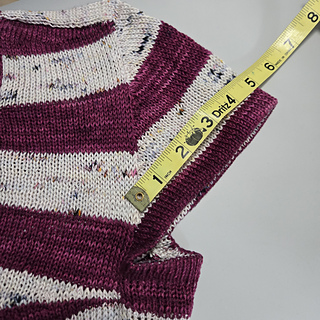
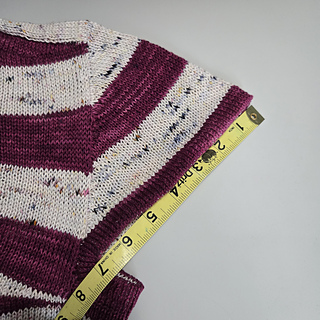
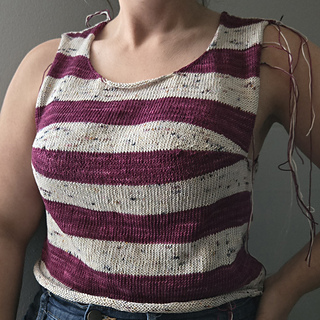
I accidentally made the armhole too deep, so I plan to knit a patch for the underarm and sew it to the front and back to raise the armhole.
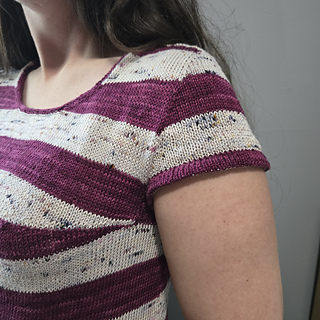
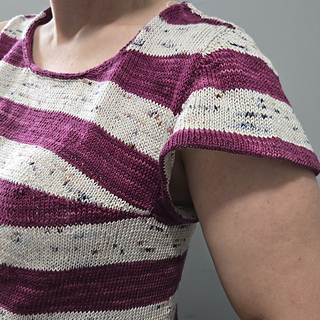
I believe will have enough yarn thar I will be able to knit cap sleeves for this top. I will pick up stitches at the top of the armhole, and form the cap with short rows, matching the striping pattern of the body.
06-14-2026
Unsurprisingly, doing no math for the sleeve cap led to some unwanted results…
I wanted each stripe to line up, so I was doing 14 rows per stripe and picking up all stitches. I ended up with about 21 stitches excess. So, I will undo the sleeve and pick up every other stitch and that should fix the issue.
I also knit the underarm patch to fill in the extra long armhole. I think that worked well, but I will dec by 3 stitches on each side and similarly only pick up half the stitches when I join to the sleeve. (Previously picked up 6 per side, but will do 2 now)
06-19-2026
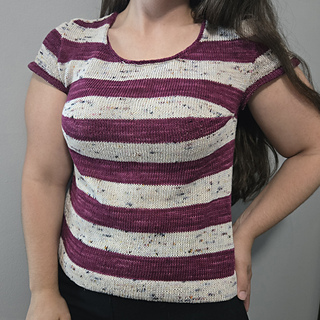
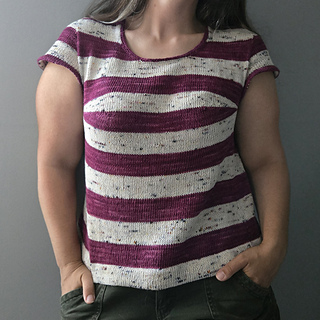
It was a pain to undo the grafted folded hem of the cap sleeve, but it was worth it. I’m very happy with how these sleeves turned out. Overall, I really like the t-shirt.
I have about 6-8 grams of both colors left. I am considering redoing the neckline, but I will give it a few wears before deciding.


 fiberopticknits notebook


 projects
 handspun
 stash
stash queue
queue favorites
 friends
 groups & events
 needles & hooks
 library
 blog posts
 Project
 stashed