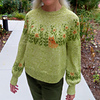
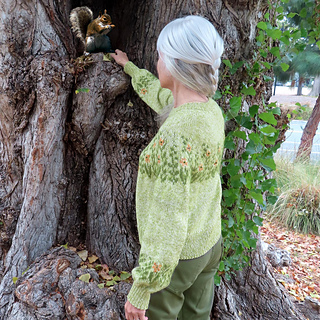
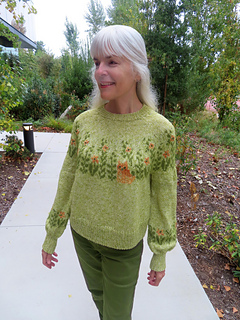
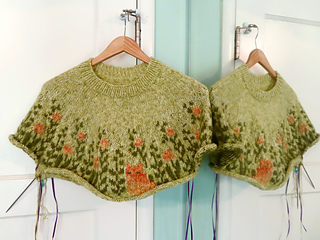
This is my second test for the talented Vicky Chan. I wanted to test this the minute I saw this cute design.
Needles used:
Size 1.5 US (Milward) - Bind off lower edge only (JSSBO)
Size 3 US (Susan Bates) - Neckband and sleeve ribbing, including sleeve bind-off (JSSBO)
Size 4 US (Addi) - Bottom and ribbing
Size 5 US / 3.75 mm (Addi) - Body and sleeves except for colorwork (I used Susan Bates above yoke.)
Size 5.5 US / 4 mm (Addi) - Colorwork only
Note that Ravelry says that 4 mm is equal to size 6 US. However, I don’t find that to be true. 4 mm is smaller than my size 6 US Susan Bates needles. 4.25 mm is close to our size 6 (made in USA) needles.
What I did differently:
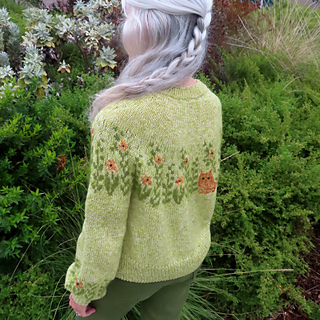
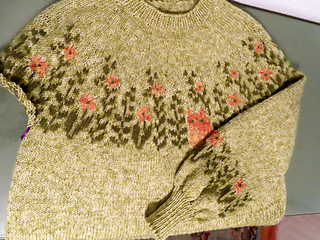
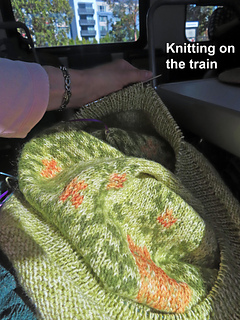
Vicky gave me permission to make wider sleeves rather than the tapered ones in the pattern. I chose to do some colorwork on the sleeves as well. Since I did not want any floats on the sleeves, I used Tatyana’s (Heavenlyclassy on Ravelry) technique for knitting with two colors as shown in this video. Note that this method only works when knitting in the round.
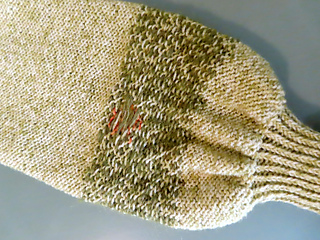
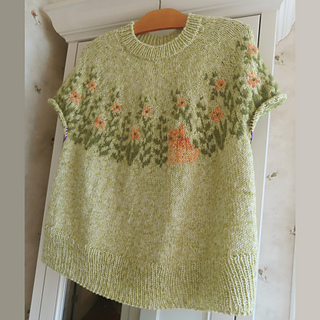
For the orange parts, I did a form of intarsia that is very well suited for small areas of contracting color. It’s a bit fiddly, but not difficult. It worked well for this design.
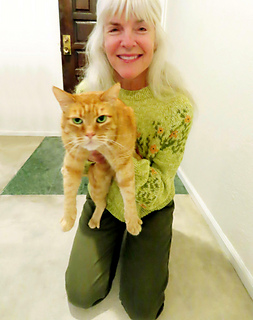
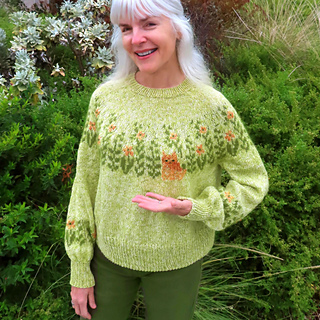
I accidentally forgot to do twisted rib on the bottom edge of the sweater (k, ptbl recommended in the pattern). However, in retrospect, this probably worked out to my advantage, since I don’t like my ribbing to pull in at the bottom. I did do the twisted rib at the neckline and sleeve cuffs.
How I did my sleeves:
My size M started out with 64 sts for the sleeves after casting on 8 additional sts under the arms. From there:
- Knit 11 rounds straight. Increase 2 sts on next round.
Note that I have long arms, so you may want to eliminate some of the straight rounds to shorten your sleeves. My sleeves measure 18 inches (45.7 cm) from underarm, including the cuff. 14.75” + 3.25” cuff = 18” total length.
My stitch and row gauge did match those of the pattern.
-
Repeat above instructions ANOTHER 3 times = 72 sts.
-
Knit 16 rounds straight.
-
Divide the 72 sts into 3 equal sections, starting with the BOR marker. So you’ll need two additional, different colored markers separating every 24 sts.
-
Work rounds 16 - 36 of the Section B Chart. Note that I modified the chart very slightly to make each of the 3 horizontal repeats have 24 sts each to start. So all of the gray squares on the right side of the chart became MC color sts. Also, rounds 16, 17 and 18 will also have one extra MC stitch on the left side (column 24). On row 16 of the chart, I changed columns 5 and 21 sts from CC to MC. I eliminated the increase on Row 19 of the chart, since I already had 24 sts across (per horizontal repeat). I did the increase on Row 30 of the chart which brought my total stitch count to 75 when I was finished with Row 36 of Chart B.
-
Increased 1 st at the beinning of the next round = 76 sts.
-
Knit 11 rounds straight. Increase 2 sts on next round = 78 sts.
-
Knit one round straight.
-
Decrease round: (k1, k2tog x 19). Repeat once more = 40 sts for cuff.
-
Switched to size 3 US needles (2 sizes smaller) for remainder of cuff.
-
Worked 23 rounds of twisted rib (k1, ptbl) around.
-
Bound off using JSSBO with same size needle. The reason I normally choose this bind-off for the bottom of snug fitting sleeve cuffs is that it wears like iron. This bind-off is extremely stretchy as well.
Color dominance in stranded knitting
Trapping contrast color floats
Ladder Back Jacquard Technique
(I did not do this on mine.)
Knitting Intarsia in the round, using the float
Knitting with 3 colors
Alternating Cable Cast On
I did this for the neckline.


 kimmyz notebook
  handspun
 queue
queue favorites
 friends
 needles & hooks
 library