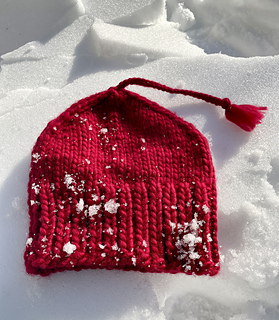
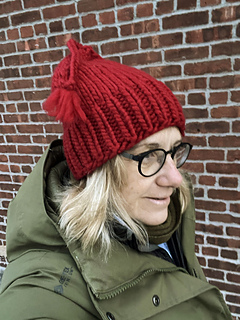
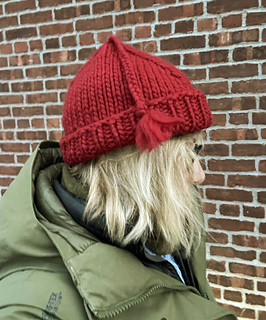
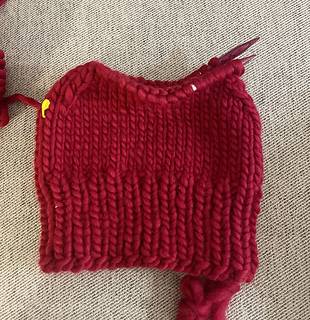
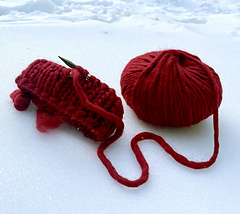
My mods for Super Bulky yarn. It’s not as tall, pointy, or floppy, but it took less than 3 hours to complete.
I’m not a knit designer - so please try it on and make it larger or smaller for yourself. This is only a guide.
Unlike the original, the brim is not meant to fold over, as the yarn is so thick. Make the ribbing longer, if you’d like to fold it.
Buy & read the original pattern first; mods will make more sense.
To fit an average adult head. I recommend after 4 rows putting it on larger circulars and trying it on to see if you like it snugger (fewer CO sts) or looser (more CO sts).
US 11 & US 13 ( US 13 & 15, US 15 & 17) size needle that gives you the fabric you like/ I find this more important than gauge - all 16” circs or DPNS
CO 44 (40, 38) using smaller needles - Stretchy, such as German Twisted.
4” 1x1 ribbing. Add about 1.5” if you plan to fold.
Switch to larger needles.
Stockinette until 5” or 6” from CO - up to you. Try it on 
Divide in half using markers- 22 (20, 16) sts each half.
Alternating decrease rounds - to make it taller -optional or skip to plain decrease rounds.
Rnd 1: (k1, SSK, K to last 3 sts, K2TOG, K1) twice
Rnd 2: K 1 all sts for one round (optional or skip this row)
Rnd 3: (k1, SSK, K to last 3 sts, K2TOG, K1) twice
Rnd 4: K1 all sts for one round (optional or skip this row)
Adding a plain round makes the hat taller - add more or fewer of these, after trying on your hat.
Plain decrease rounds:
k1, SSK, K to last 3 sts, K2TOG, K1 - Repeat until eight sts remain - switch to DPNs or magic loop when needed.
ssk, K2TOG, SSK, K2 TOG - 4 sts remain now
Weave in the end under 2 or 3 sts inside, leaving a 18” tail
Then, thread the 18” tail through the top center.
Secure a 36” piece of yarn (folded in half) so that you have three 18” pieces coming from the top to braid.
Braid to the length you like and finish the tassel as explained in the original pattern.
Weave in your CO tail.
Wear.
Please buy the original pattern and/or donate directly.


 monbert notebook


 projects
 handspun
 stash
stash queue
queue favorites
 friends
 groups & events
 needles & hooks
 library
 blog posts
 Project

 stashed