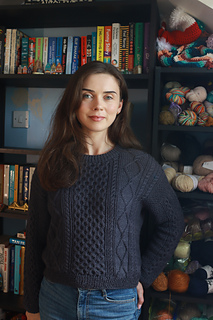
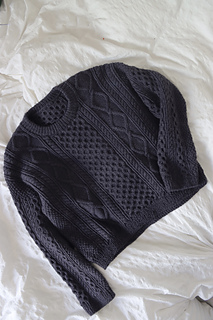
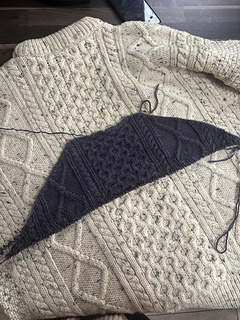
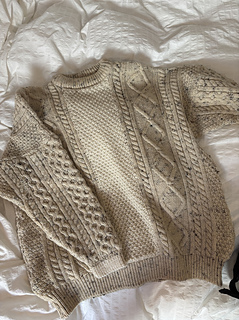
I’m attempting to recreate an aran jumper that belonged to my granddad, and if all goes well I’d love to put out a free pattern so others can make it too! I’ll also be documenting the process in a project vlog on my youtube channel and on instagram, so this is a big project!
Planning
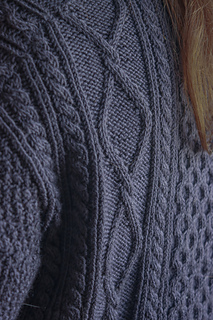
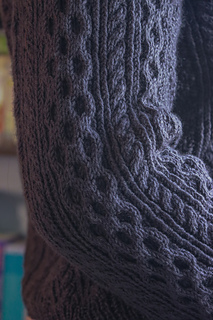
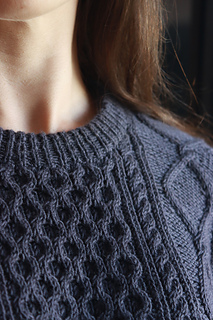
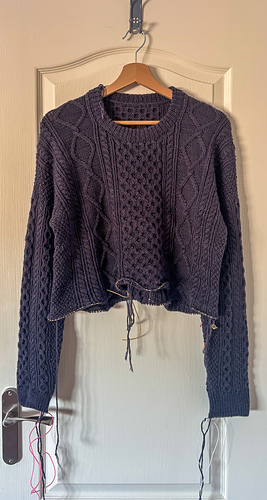
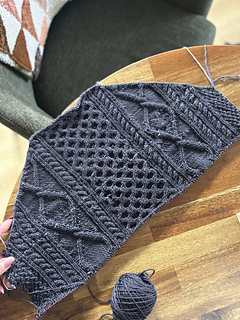
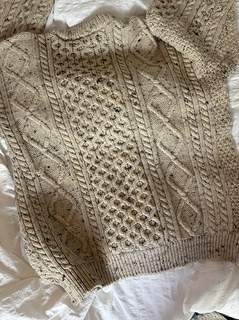
Started off by identifying the cables on the original jumper - a honeycomb panel in the centre, diamonds on either side and 2x2 cables making up the rest of the space. The front panel was damaged by moths, and as I didn’t know how to knit at the time I had it repaired by someone else, but she replaced the honeycomb with double moss stitch. I’ll be sticking to the original jumper by having a honeycomb panel in mine. The original jumper was knit bottom up and probably machine knit, but I am knitting mine top-down in a modified drop shoulder construction, starting with a trapezoid shape for the back panel shaped by german short rows.
Swatching
I initially made a swatch incorporating a few of the cable motifs, and calculated my stitch counts based on that and assuming 15cm of positive ease. I made a chart on stitch fiddle for the back panel and worked from there. The original jumper has columns of 2 knit stitches on either side of the 2x2 cables, but I swapped these for twisted stitches so they would stand out more.
Back yoke
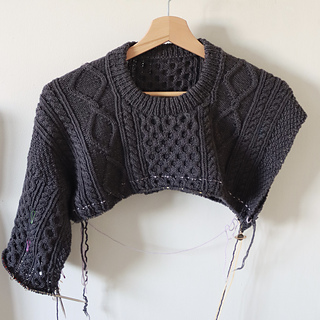
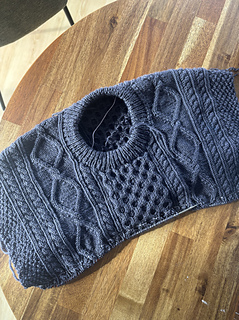
Cast on 144 stitches, broke the yarn and slipped 48 stitches to the right needle so I could start working on the back neck. I shaped the back yoke with GSRs, turning 3 stitches after every previous turn. Once shaping was done I worked straight until the back panel measured 22cm from the cast on edge.
Front yoke
I picked up 48 sts along each shoulder edge and worked straight for 10cm before starting increases. I aworked 10 increases on each side over 14 rows. For the first 8 rows I worked an increase on every other row, then I worked an increase on every row for the next 6 rows. Then I cast on 28 stitches across the front to join the 2 shoulders. I worked back and forth until the front measured 26cm from the shoulder pick up.
Joining in the round
I joined the front and back panels in the round. I didn’t cast on any under arm stitches.
Body
I worked in the round until desired length, allowing for 5cm of ribbing. For the ribbing I switched to a 2.75 mm needle and decreased every 7 stitches before working the ribing.
Sleeves
Picked up 108 stitches.
Round 1: Knit/purl all around and place stitch markers
R2: Established twisted columns
R3: Cable round.
Dec every 9 rounds, 16 times.
Cuff
Switch to 2.75 mm needles, decrease every 8 sts and work 1x1 rib for 4 cm.
Collar
2.75 mm needle. Pick up 2 in every 3 stitches/rows all the way around and work 1x1 rib until desired length folded over.
Things I’ve realised for the next sample
I really need to think further ahead to make sure everything lines up on the front and back panels. After joining under the arms the cable rows for the honeycomb and 2x2 twists are on different rows, but the diamond lines up which is the main thing so it’s fine for this sample.
I also need to consider how the double moss stitch lines up at the under arm seam. I could leave it as is or have it so that the double moss stitch panels on either the front or back don’t exactly match, but then there won’t be a visible seam when joined under the arm.




 projects
 handspun
 stash
stash queue
queue favorites
 friends
 groups & events
 needles & hooks
 library
 blog posts
 Project

 stashed