

 Sofasaurus Crochet
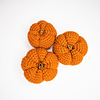

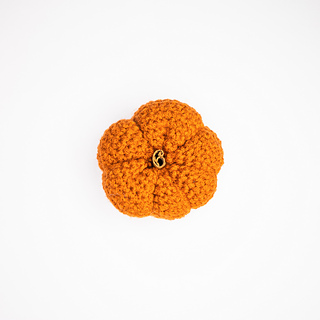
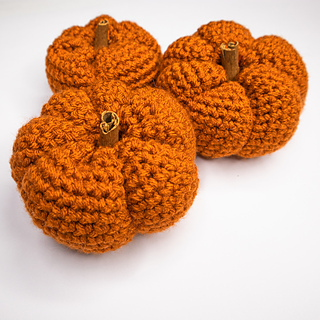
Crochet Pumpkin
This pattern is written in US Terms
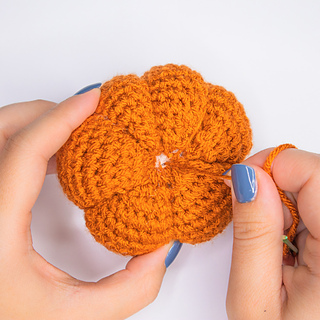
This crochet pumpkin is worked in the round using a large ring
Leave a long tail when making your slip knot
To keep the beginning chain from twisting:
Chain 5, then pull the hook out of the working loop, pick up the first chain and then insert the hook back into the working loop. Continue chaining until you reach your desired number of chains. Join to form a ring by pulling the working loop through the first chain (similar to a slip stitch)
For round one, work into the top loop of the chain only
The first round is finished with a slip stitch into the first stitch. Every round after round one is worked in continuous rounds until the desired height is reached.
How can I adjust the size of the crochet pumpkin?
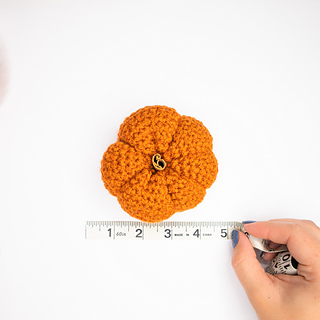
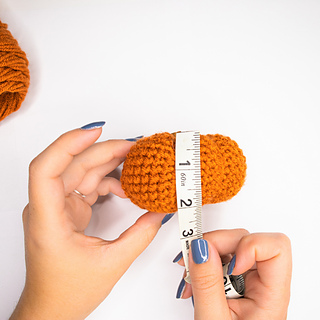
You can adjust the size by altering the number of chains at the beginning and/or the rows. Keep in mind that the beginning chain will not be an exact indicator of the final size of the pumpkin. Most fabric will end up about 1/2″ (or 1cm) larger than the foundation chain. You can also make your pumpkin taller by working additional rows before finishing off the yarn. The pumpkin in this pattern has final dimensions of approximately 5×2″ (or 13x5cm).
Can I use a different-weight yarn?
Yes! Just use a hook that is 1-2 sizes smaller than the recommended size from the yarn label.
108700 projects
stashed 31919 times
