

 Knittybae website
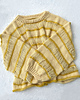

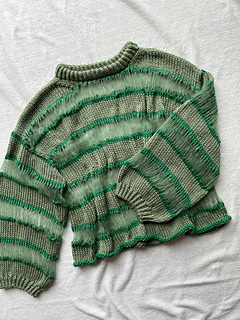
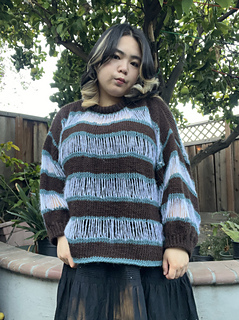
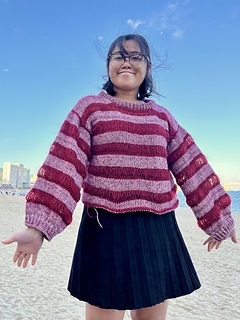
Pixie Sweater (knit)
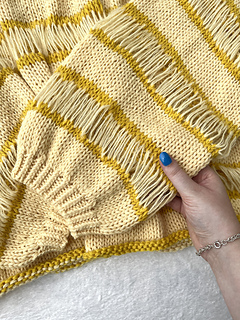
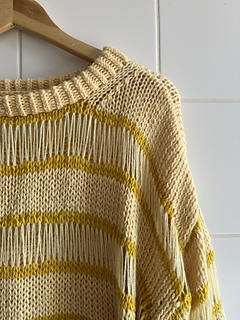
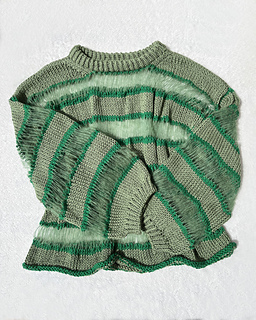
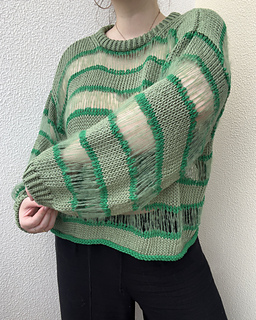
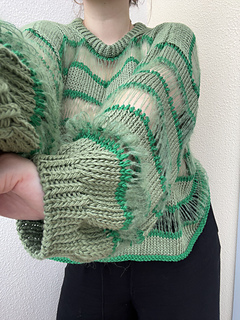
Presenting the Pixie Sweater knitting pattern by Knittybae. This downloadable PDF pattern is worked by alternating between basic knit stitches and long drop stitches. The made-to-measure design allows you to either follow the provided size (M/L with an oversized fit) or customize the sweater to your own measurements.
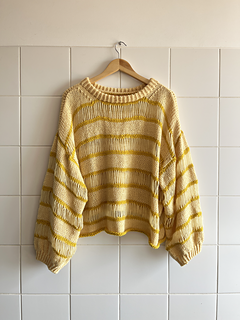
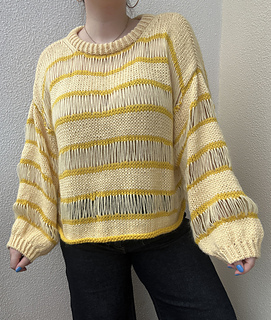
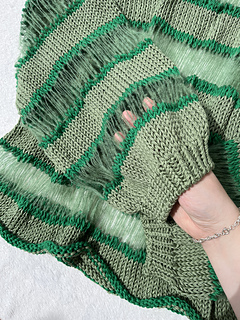
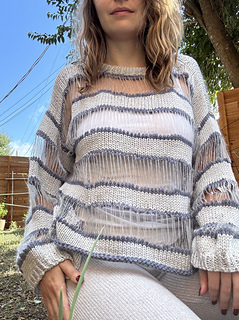
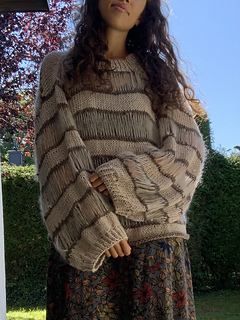
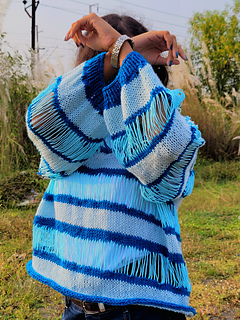
The sweater is knit bottom-up in one piece, with only a shoulder seam required. The pattern is divided into three sections: CONTRAST, FULL and MESH to make the process simple, structured, and fun. For the best striped effect, alternate between two different yarn types and two contrasting colors.
This pattern is provided in English and uses American crochet shorthand/abbreviations. This document spans 38 pages and includes instructive images to further help you pursuit your goal result.
Recommended Skill Level: Advanced Beginner and above.
Pattern uses following knitting stitches: knit (k), purl (p), stockinette stitch (st st), drop stitch (d st), and 1×1 ribbing worked through the back loop (1×1 rib st tbl).
CONSTRUCTION OF THE SWEATER
The Pixie Sweater is worked from the bottom up in one piece until the front and back sections are separated to create space for the sleeves. You’ll begin by knitting the body in the round, continuing until the required length is reached, then dividing the work into front and back panels. Each section is then worked separately, where the neckline shaping is formed and then stitches are binded-off at the shoulder lines.
After both panels are complete and the necklines are shaped, they’re joined together at the shoulders and all ends are secured neatly. The sleeve stitches are then picked up directly from the armholes and worked in the round, creating a seamless transition from body to sleeves. On the final row before starting the sleeve ribbing, decreases are worked to shape the sleeve and create the soft balloon effect at the cuffs.
To complete the sweater, finish with ribbing at the sleeves and neckline, to give the garment structure and a clean, polished look.
MATERIALS:
- KNITTING NEEDLES (circular) 5.5 mm and 7 mm / UK 5 and 2 - I highly recommend to use interchangeable needles!
- YARN (see YARN RECOMMENDATIONS below)
- SCISSORS
- TAPE MEASURE
- STITCH MARKERS
- STITCH WIRE (or scrap yarn)
- SHORT AND LONG NEEDLE CABLE (optional)
- TAPESTRY NEEDLE (for weaving in ends)
YARN RECOMMENDATIONS:
-
To get the best striping effect, I recommend alternating between two yarns in two different colors. You can use any yarn you prefer – cotton, wool, acrylic, or any other fiber you like.
-
For the FULL and CONTRAST SECTIONS: Use two colors of Fine (No. 2) or Light (No. 3) weight yarn (held double or triple), OR use Medium (No. 4) or Bulky (No. 5) weight yarn held single – as long as it’s compatible with 7 mm needles.
-
For the MESH SECTIONS: Use Lace (No. 0) or Super Fine (No. 1) yarn for a delicate, airy look. Mohair or mohair-like yarns work beautifully here.
(e.g. For butter yellow sweater I’ve used DROPS’ Flora in shades 17 Yellow and 26 Lemonade. For long mesh rows I’ve used DROPS’ Kid Silk in shade 52 Jade.)
Please feel free to share your finished garment on Social Media (Instagram, Facebook, TikTok, Pinterest), tagging me @knittybae and using the hashtag #knittybae and #pixiesweater.


