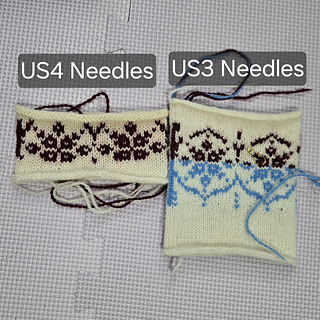
I swatched twice for this project. First on US size 3 needles. I achieved a gauge of 27.5 st / 42 rows per 4 inches in the plain stockinette. But the colorwork gauge was too tight (~32 st / 4 in).
Swatched again with US size 4 needles. I achieved a gauge of 27.5 st / 34.5 rows per 4 inches.
I plan to knit the size 4, which would be close to 7 inches of positive ease, which is more ease than I want. Hopefully the tighter gauge will compensate for that.
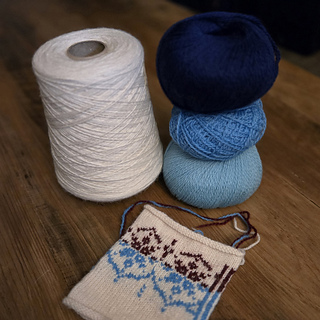
The yarn I chose is KnitPicks Palette. The main color will be in Cream and the contrast colors will be a slight fade with the colors Jay, Pool, and Sky. I would have preferred a step closer in the fade between Jay & Pool, but they were out of a lot of colors. I plan to cast on once the order of the two additional blues arrive!
01-23-2026
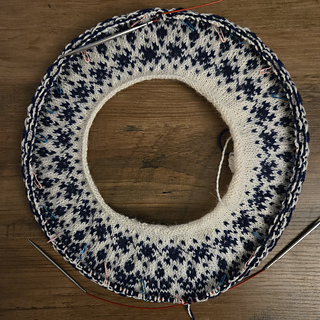
My contrast colors are in and my other project needs to block before I can seam it up, so I decided to cast on today!
I cast on for size 4 sweater. I am going to come back to the neckband at the end, partially because the cast on edge will add some stability and so I can punt the decision of neckband length and color.
01-25-2026
After reading through the pattern and considering the ease that I want, I’ve decided to make some alterations so I can knit something between size 4 and size 5.
I wanted my sleeves to be closer to size 5, but the chest would have too much ease if I knit a size 5. So I did some math to work something out.
I cast on the right number of stitches for size 4 and followed the instructions as is until chart 1.
Rather than do the 22 repeats in the size 4 directions, I split up my stitches into 24 sections, 14 sections with 6 stitches and 10 with 7 stitches, marking them with different colored stitch markers
For the 14 sections with 6 stitches, I followed the chart 1 version for size 5 and the 10 sections with chart for size 4. After that chart, the sections are identical and I can follow the next two charts as is.
I plan to do a hybrid of the instructions for separating the sleeves, where I knit the number of body stitches will match size 4, but the save the number of stitches for the sleeves as specified for size 5. Then I will just follow instructions for size 4 body and size 5 sleeves.
02-09-2026
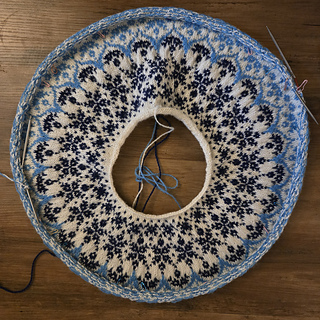
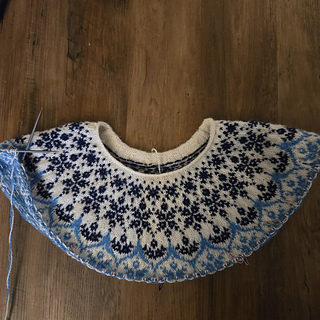
It was a bit of challenge getting used to carrying 3 colors at once, but I’m mostly happy with the results. The tension is a bit wonky in spots, but hopefully blocking will help.
I got down to the split for sleeves and did a try on. Despite the short rows around the neck, it felt like the neckline was still going to sit much higher than I prefer.
I recently watched a video from Mel Makes Stuff where she referenced a circular yoke pattern that had short rows that came all the way to front and added height to the back and the sleeves. I felt that short rows like that would help achieve a fit that I would prefer. However, since I’m still in the colorwork section, I needed to modify the chart.
I decided to elongate the center of chart 3 so that on the back and part of the sleeves, the section between the two sideways brackets (like these brackets: { } ) would be taller on the back and just follow the pattern on the front. The edits make it so that when I finish the short rows, I’m at the bottom curly bracket across thw whole sweater and then I can continue knitting from there and it (hopefully) doesn’t look too strange. The shorts rows will be a few rounds above the split for the sleeve
I would not be surprised if this involved multiple attempts to get looking good.
02-10-2026
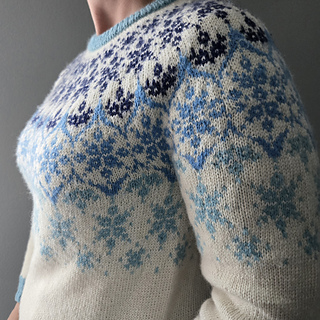
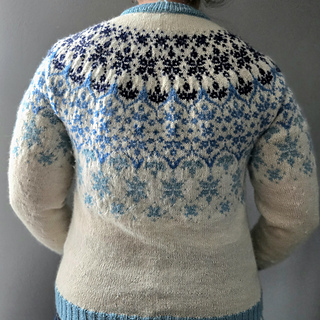
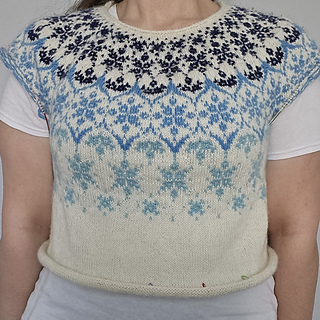
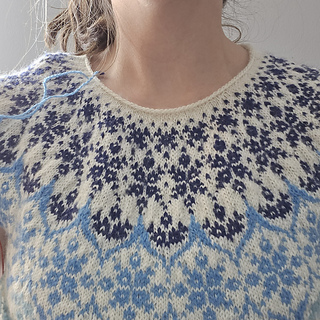
I finished with the short rows and I’m happy with the results! The additional ten rows add about another inch to the back of the sweater, shifting the neckline closer to where I’d want it.
My charts got a little confusing to follow when I was on a purl row, but it wasn’t too bad when I got into a rhythm. I’m now back to following the original chart and will separate for the sleeves in a few rounds.
02-21-2026
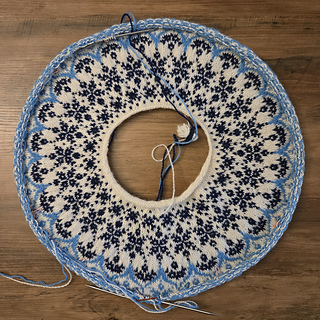
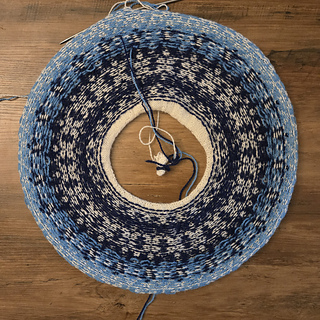
I got almost halfway through chart 4 when I realized that I would have benefited from doing ladderback jacquard. I had only been catching the long floats, but I had two issues. My floats tend to be very loose when I catch them, so the stitches on the contrast color had terrible tension and looked wonky. The issue was for the first 15 rounds of the chart, there is a huge gap between the cc stitches, that it felt like the caught stitches were more noticeable, even though I would change where I caught on each round.
I decided to rip back and start chart 4 over again and include the LBJ from the beginning. Since I was taking the sweater off the needles, I figured that I should also do a try on.
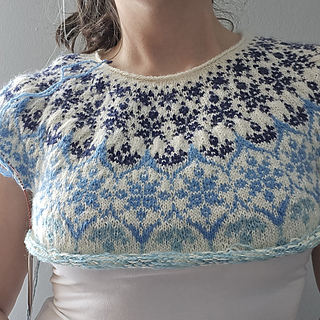
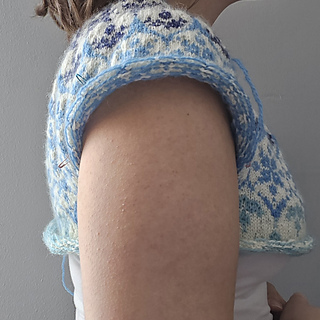
This was my first try-on after splitting for rows and I’m so glad I went through the process of adding more short rows to the back! The neckline sits more forward like I hoped.
I’m also glad that I made the modifications to achieve a larger arm circumference than the size I’m knitting. The armhole felt very comfortable and seemed to have the right amount of ease to leave space for an undershirt comfortably.
Lastly, I’m happy with where I decided to split for sleeves. My row gauge was off from the pattern, so I knew I needed more rounds than what the pattern suggested for my size. I split at round 23 of chart 3.
03-04-2026
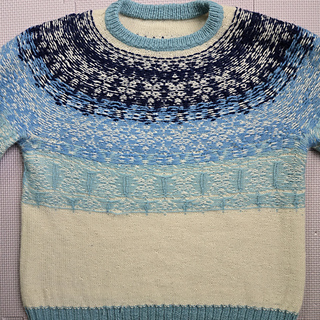
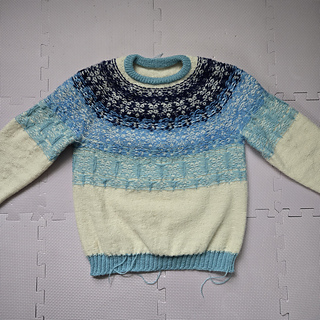
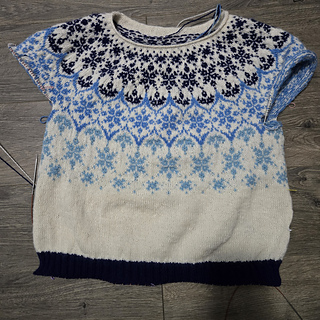
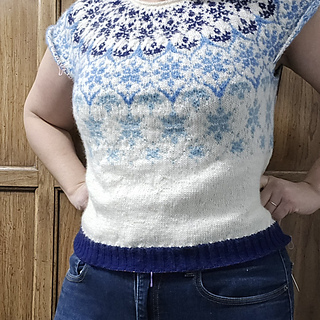
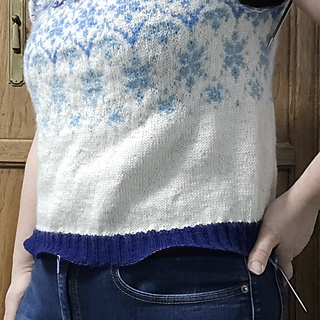
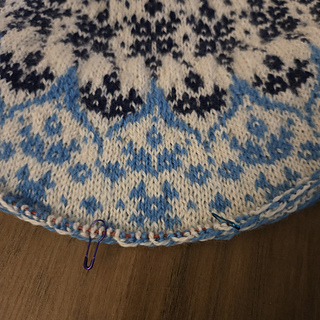
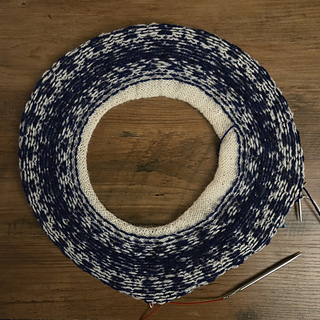
I got to the bottom ribbing and did a try on. With the fabric no longer rolling up, it was clear that I had too much fabric / too rapid of increases at some points causing a rippling appearance. My gauge in the plain stockinette on US3 needles was 27 st per inch vs the 27.5 with the colorwork on US4 needles. I think that further added to rippling effect.
I also realized that I started the increases to accommodate my hips too early and needed to extend the narrower waist portion. I pinched the sweater and marked the section that needs a smaller circumference to measure.
I also felt that I could have made the sweater longer before switching to the blue ribbed hem and wasn’t certain about the dark blue for the hem.
I plan to rip back to end of the colorwork and make the following changes (or will consider making these changes):
- Decrease by 6 stitches on first round
- Knit for 20 rounds plain stockinette
- Start increases. 4 increases every 8 rounds, 4 times for a total of 32 rounds and 16 increases
- Knit ribbing on US1.5 needles
- Maybe knit hem in the light blue (Sky) or cream
For the hem, I had knit on US1 needles. It took about 17 grams for 19 rounds, which was about 1.5 inches long. I think that hem length is good, but possibly a different color.
Time to frog!
04-02-2026
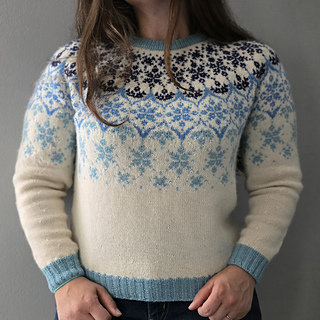
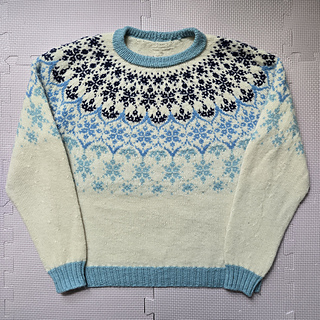
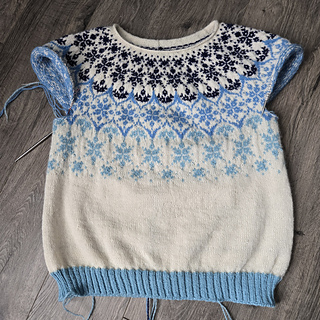
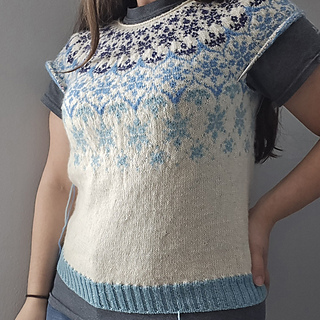
I finished re-knitting the body a few weeks ago and happy with the result. The changed decreases improved the fit and the lighter blue hem looked much better. I also ordered another bag of the light blue yarn since I detemined that I wouldn’t have enough to finish.
I then knit the sleeve. I had some avoiding a gap when I picked up stitches, which I plan to address with some duplicate stitching when I’m done.
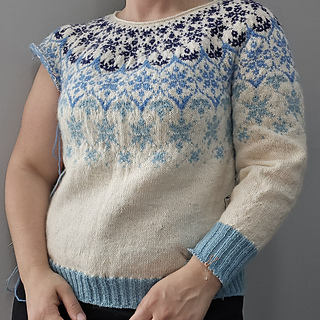
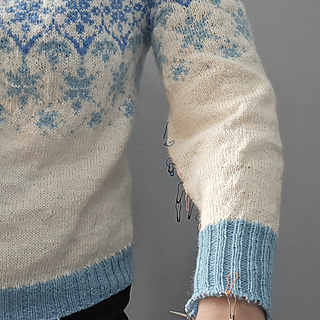
When I finished the sleeve and tried it on, I realized that I started the decreases too late and it resulted in bagginess near the elbow. And I also realized that I made the cuff too long.
So…I frogged again. I plan to start by immediately decreasing the sleeve by 2 stitches after the colorwork portion. I did some math of the gauge difference and this should even out the transition. From there, I will do decreases to match the decrease in my arm circumference around the elbow, then have a reduced decrease rate down the arm and add about an inch of the white portion before switching to the ribbing.
04-26-2026
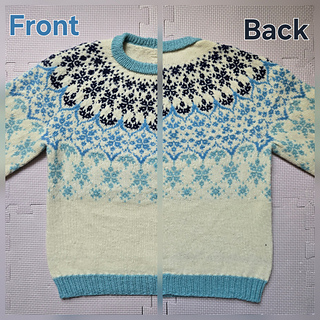
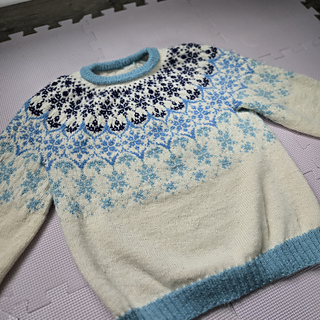
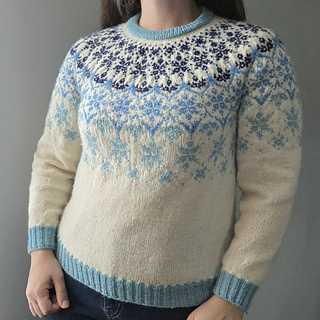
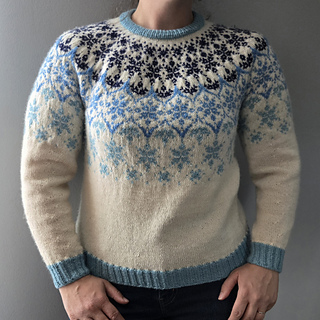
The last of the ends have been woven in and all that’s left is blocking! It feels so good to be done after all of the times I unraveled significant portions of this sweater. But I’ve been happy with the result every time that I’ve decided to redo a section, so it’s been worth it.
For the collar, I decided to do a folded collar with a 1x1 rib. I did a crochet chain pick-up around the collar to give a clean pick-up. My hope is that this will also provide a more stable collar.
I started the collar on US size 3 needles, for a few rounds, then switched to size 1.5 needles until I knit about 19 rounds total, then switched back to the size 3 needles for 2 rounds. The last round, I knit every stitch instead of the 1x1 rib.
I then picked up the inside of the crochet chain, then grafted those stitches to the live stitches of the collar. Since this was on the inside, I wasn’t concerned with the look. My hope is that the graft would have a similar stretch to the collar, which it did.
I think if I try this again, I might not do the larger needles on the outside rounds and would do away with the all knit round before grafting.
I am looking forward to seeing the final result after blocking!


 fiberopticknits notebook


 projects
 handspun
 stash
stash queue
queue favorites
 friends
 groups & events
 needles & hooks
 library
 blog posts
 Project

 stashed