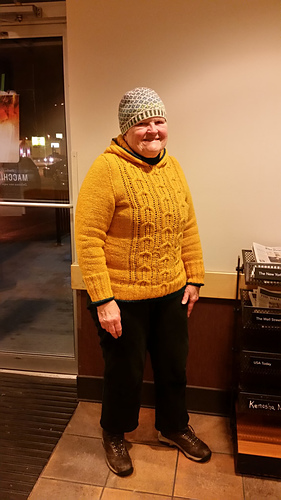
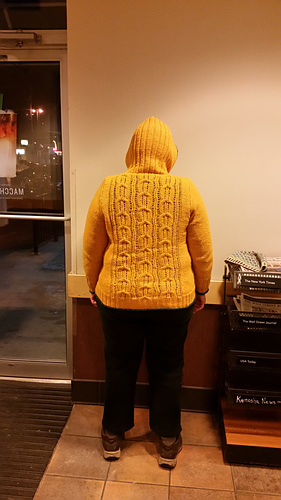
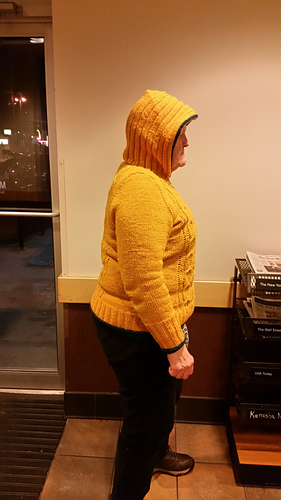
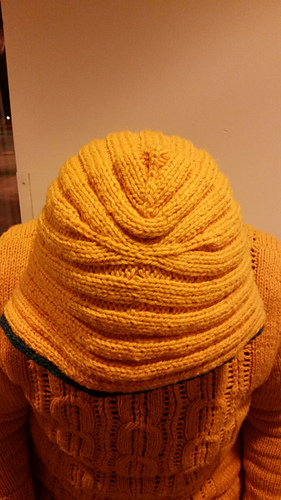
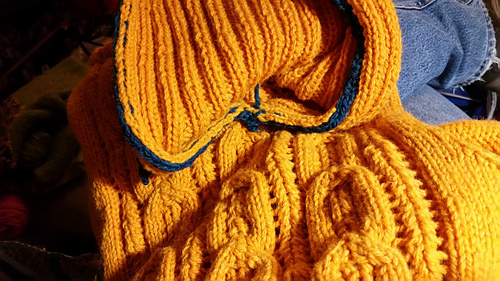
January 2017. Dragged this UFO out of my Area 51 because it was ridiculously unfinished. As is often the way with UFO’s, there was something I didn’t like about it; it began with the crewneck, and I was whining to my friends that it was SO yellow. That was LAST month. Nonsensicallly perhaps I added a hood…yup, more yellow… The rest of the sweater ribbing is 2x2 but Gwendolyn’’s 3x2 ribbing turned out to fit in perfectly with the upper ends of the cables.
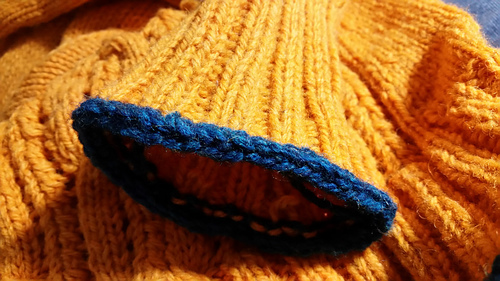
Then, inspired by Gwendolyn again, I decided on 2-stitch I-cord contrast edging. Of course this necessitated removing my German Twisted CO, grrrrr, to maintain the flexibility of the ribbing edges.
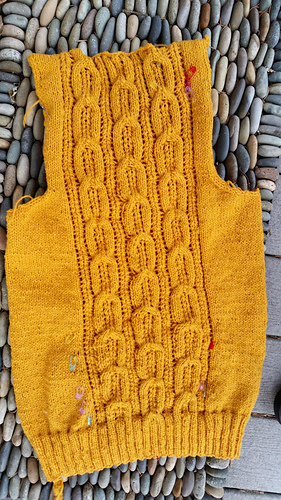
I like it much better now, but I’m astounded that the sweater appears to have changed color. Bought yarn, golden yellow…knitted body, sleeves, golden yellow. When I began working on it again and pulled out the cone of yarn, I realized that it’s actually yellow-orange! Sweater hasn’t changed a bit, just my perception of it…talk about seeing what one expects to see rather than reality…
All that’s left is to do something about the crocheted armhole steeks which are too bulky when folded over along the armscye. Should have known better, aran yarn. Dont know if they’re wide enough to not ravel if just removed an left alone. Otherwise I’ll machine stitch them.
11 January Received yarn I ordered from Uradale Farm in Shetland where I purchased the original. Won’t be knitting up all of it right now, ;-}, as I ended up purchasing another 500g cone. The postage was such a large part of the cost of the yarn purchase, that I decided to go with 500g vs the 150 g minimum I needed since the postage wasn’t that much more and this wool is LOVELY to work with. So, now, on to the second sleeve.
9 December Sleeve notes: 44 sts 12 rows #6 16 rows #7 4 rows even. Inc next row, then ea 5th row x 6; ea 6th row x 7. 44 sts + 28 inc = 72 sts. 106 rows + 2 rows correction for #6 needle rows = 108 rows
3 December Body completed, love the new steek I learned from Margaret Radcliffe’s new book THE KNOWLEDGEABLE KNITTER PP 90-1. I used it for the armhole steeks. Now it needs the steeks to be crocheted and the whole thing be blocked so I can cut the steeks and start on the sleeves, which I plan to work from the top. Have to order more yarn as I only have 150g left. Here’s the ? 500g @ £30 + £16 shpg or 200 g @ £20 + £12 shpg. Much better value for the cone, eh? to feed the stash.
30 November Uh oh! Another wonky cable to fix. This project doesn’t make for really good tv knitting!
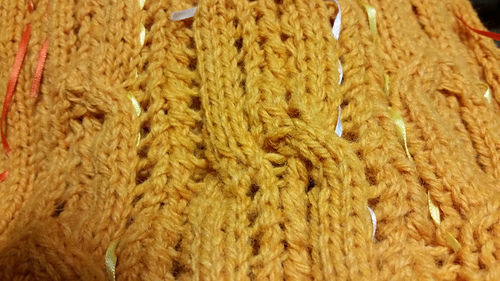
26 November Progress has been made and ripping has happened. Sigh. After about the sixth set of cable crosses, I realized that my cables weren’t lining up properly. The error was made early on, and each of the 10-stitch cable panels have been ripped down and corrected so that now they are looking depressingly wonky. I’m counting on them evening themselves out in the blocking process. However, in case this doesn’t prove true, I’ll block the body before binding off for neck shaping so it can be reknit if necessary; this is lovely yarn to work with, so there are worse things than more knitting.
Using CustomFit pattern as basis for shaping/sizing with details from Acer.
Lovely yarn; became softer with blocking but didn’t lose stitch definition in cables. Slight bleeding of color.
Blocked gauge: 21 sts = 4.75”; 26 rnd = 4.125”
Blocked cable swatch = 5.25” width/ 1.5 cables, so I know the finished cable panel to be inserted into the CustomFit vanilla pullover will measure 10.5”.
Cable CO 208 sts. 2 x 2 ribbing 3”. #7 needle, bamboo
Worked in the round to make pullover, using back cable placement on front also. Customfit pattern called for 210 sts; I chose to work the cardigan size calling for 210 sts, reducing this to 208 sts, a multiple of 4 for the ribbing, omitting the CF “seam stitches.
CO used was Twisted German CO, alternating K2 and P2.
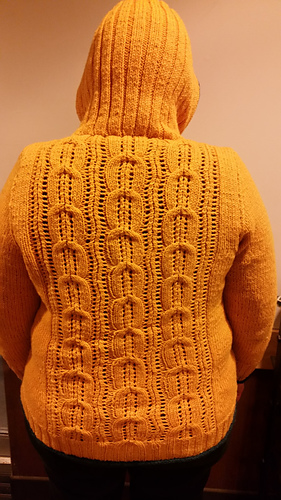
Placement of cables on front used same placement as back of Acer pattern, and it took a bunch of markers and lots of counting to figure out where two side “seams” and CF, CB would fall; turns out it’s relatively simple and it happens in the middle of a K2 for each side seam.
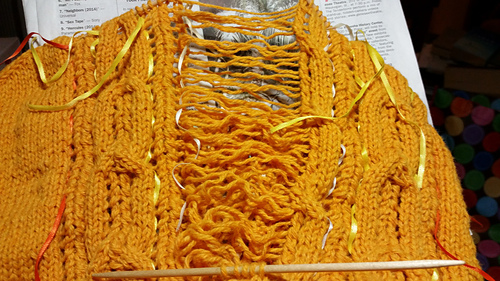
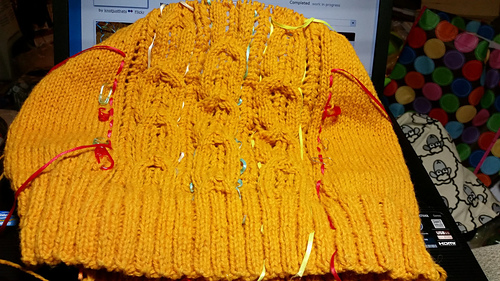
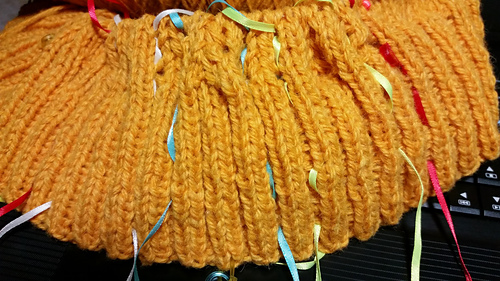
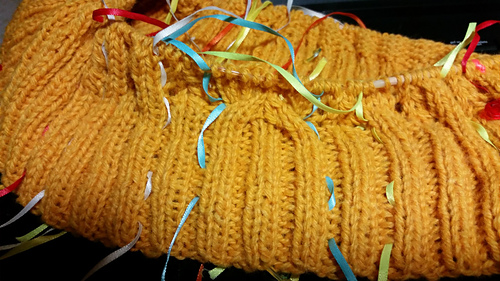
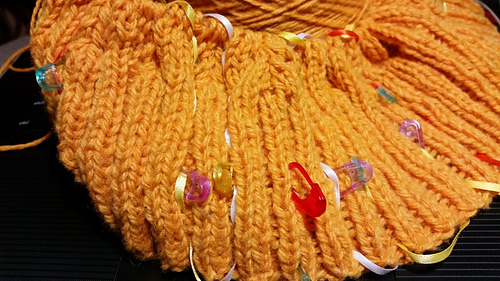
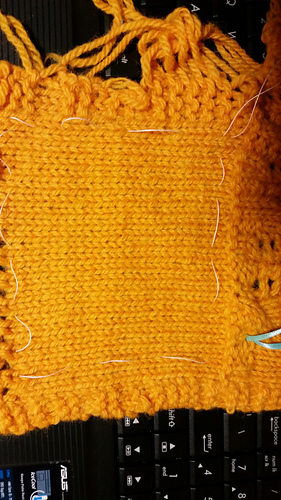
Photo shows locking markers, which are going away now because they are no longer needed as they’ve been replaced by my colorful vertical markers. I’m hopeless with markers that hang from the needles as they mostly end up uselessly on the floor; locking markers certainly have their place, but I hate to keep moving them up as my work grows. The colored yarn pieces I used to use as vertical markers have been replaced in my affection by cheapie 1/8” satin ribbons. My projects look a bit like a maypole to start with, but soon sorts itself out. Each vertical panel is delineated with a pair of colored ribbons. Every few rows I pull up the ribbons and loop them over the working yarn. Then, especially on the mostly-stockinette alternating row, a little “song” plays in my head: K 25, P1 K4 P1, K10, P1 K4 P1, K10 etc. This checks previous row to be sure I haven’t omitted a YO or forgotten a P st where it is needed. The ribbons readily stay in place, and when I’m finished, the satin ribbons pull out smoothly without leaving color or lint on my garment. I also mark the beginning of round, 2nd side “seam”, when working in the round, and anything else that needs reminding of as I go along. I haven’t run out of colors yet…
For chosen size I used: 25 sts stockinette, 54 sts of Charts B and A, 25 sts stockinette; repeat these 104 sts for front + 208 sts. After ribbing, 18 row, 3.5 in., the beginning of round was moved 1 stitch over so round begins with K1 P2. This was necessary so that Chart B ends with K1 and Chart begins with K1 and 10-stitch middle cable is centered over {K2 P2 K2 P2 K2}. I taped together Chart B and Chart A in correct orientation because I kept trying to do A first.
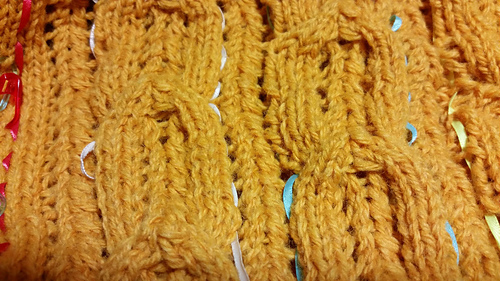
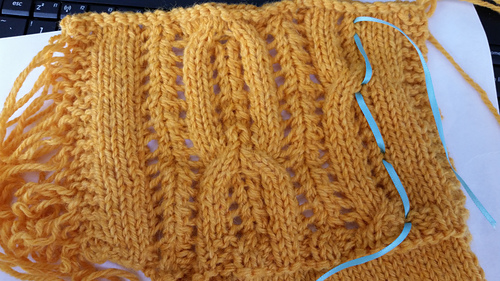
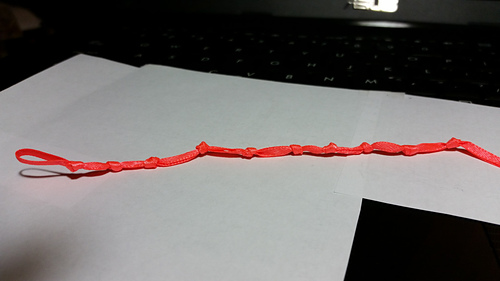
Slick Trick I learned this from Amy Detjen, and it gets rid of my problem of miscounting rows between cable crosses.
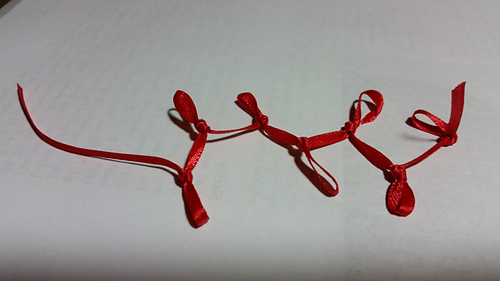
Fold a piece of yarn, or here showy fluorescent ribbon, in half and tie as many knots as there are rows between cable crosses, or something else where vertical count is wanted. On this cable lace chart, there are 10 rows between cable cross rows--so I made 10 knots to form 10 loops-- and I’m on the 7th row of 10; needle is in loop 7 from the bottom. This gadget rides on my needle near the beginning of the charted panel. Each time I work a row, I move the needle up one loop, and when I get to the end loop, I know that’s a cable cross row; repeat.
This design, as modified by CustomFit, has waist shaping on front and back at different rates, so I have three of these little gadgets in different colors going now. I will also use one on the sleeve to track increases/decreases, depending on whether I work them top down/up.
Another Slick Trick: When instructions say, for example, “Repeat decrease/increase a total of seven times every __ row,” I count out seven locking markers and fasten them to my work where they’ll be needed. Each time I do a decrease/increase, I place a marker on it. When markers are used up, I know I’m finished with my decreases/increases. Instant tallying!


 knotjusthats notebook
  handspun
 queue
queue favorites
 friends
 needles & hooks
 library