

 Wendlandrand's Ravelry Store
 Pattern



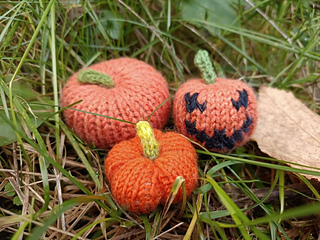
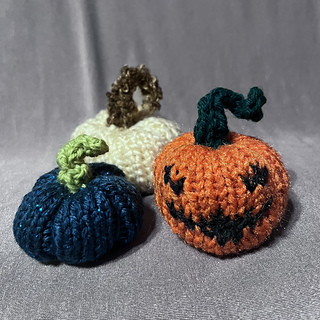
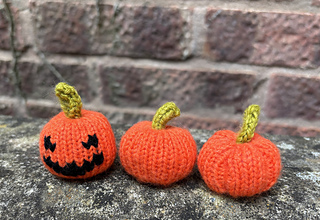
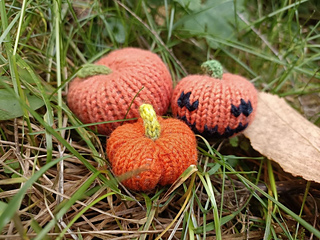
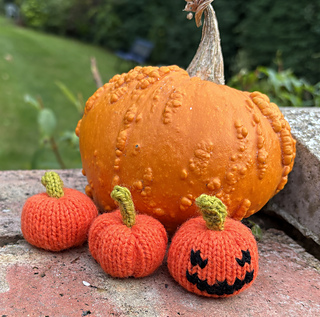
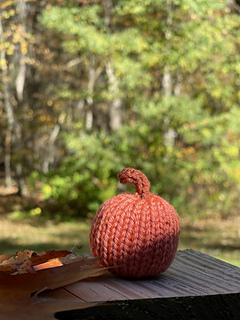
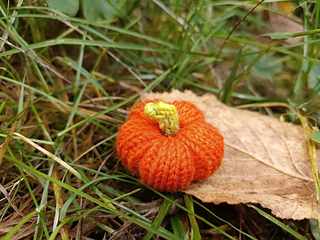
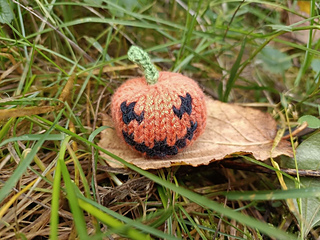
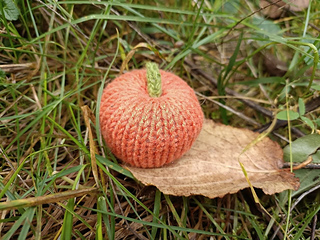
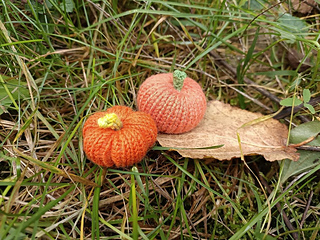
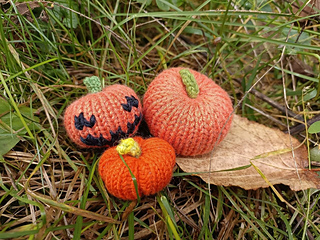
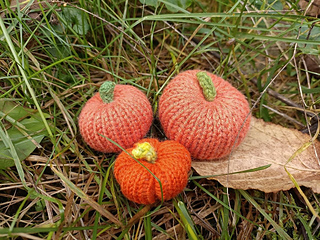
Little Pumpkins

And its pumpkin season again =)
The leaves are turning colourful and the mornings are misty… all in all it is soup-weather and spooky season is upon us.
What better project for those cozy evenings, then making many, many little pumpkins?
This pattern includes three slightly different versions (one plain one, one with grooves and one with a stitched on spooky face). All can be made with whatever scraps you have lying around. I would advise though, to go down one or even two needle sizes from the needle size recommended for your yarn. This will create a denser fabric and will result in less of your stuffing showing through the stitches.
For size reference:
I used Iris Naturgarn with 95m / 104yards on 50g / 1.76ounces and 2.5mm / 2 US needles and my pumpkin ended up measuring approximately 5,5cm / 2‘’ in diameter.
Skill level:
Intermediate
You should know how to…
- knit in the round with a small amount of sts - either with dpns, magic loop, two circular needles or whatever you prefer.
- work decreases such as ssk and k2tog
- work increases such as kfb
- knit and purl
If you know most of these techniques , but are missing one or two: don’t worry, most of these are easily learned from a youtube video. This pattern might still be doable for you.
You will need:
- Scraps of similar yarn weight in different colours
- some stuffing of your choice
- 5 dpns (chose a smaller needle then what is recommended for your yarn to create a denser fabric)
- a pointy needle to sew up the pumpkins
- scissors
Notes on construction:
You start by knitting the body of the pumpkin in the round and then closing one side by pulling the thread through all the remaining sts. Then the pumpkin is stuffed and the other side is sewed shut. For the grooved version you now use one of your tails to make the groves by sewing through the middle of the pumpkin.
The stalk is knitted as a small i-cord and sewn on.
For a curvy stem version go and have a look at ratstuffs project for instructions (follow this link)
or check out the testing thread (follow this link)
Thanks a lot to my lovely testing team:
funkysheep
ratstuff
batty4yarn


 Ravelry download


 Cancel

21 projects
stashed 9 times
 stashed


